Mini Amigurumi Pug Free Crochet Pattern
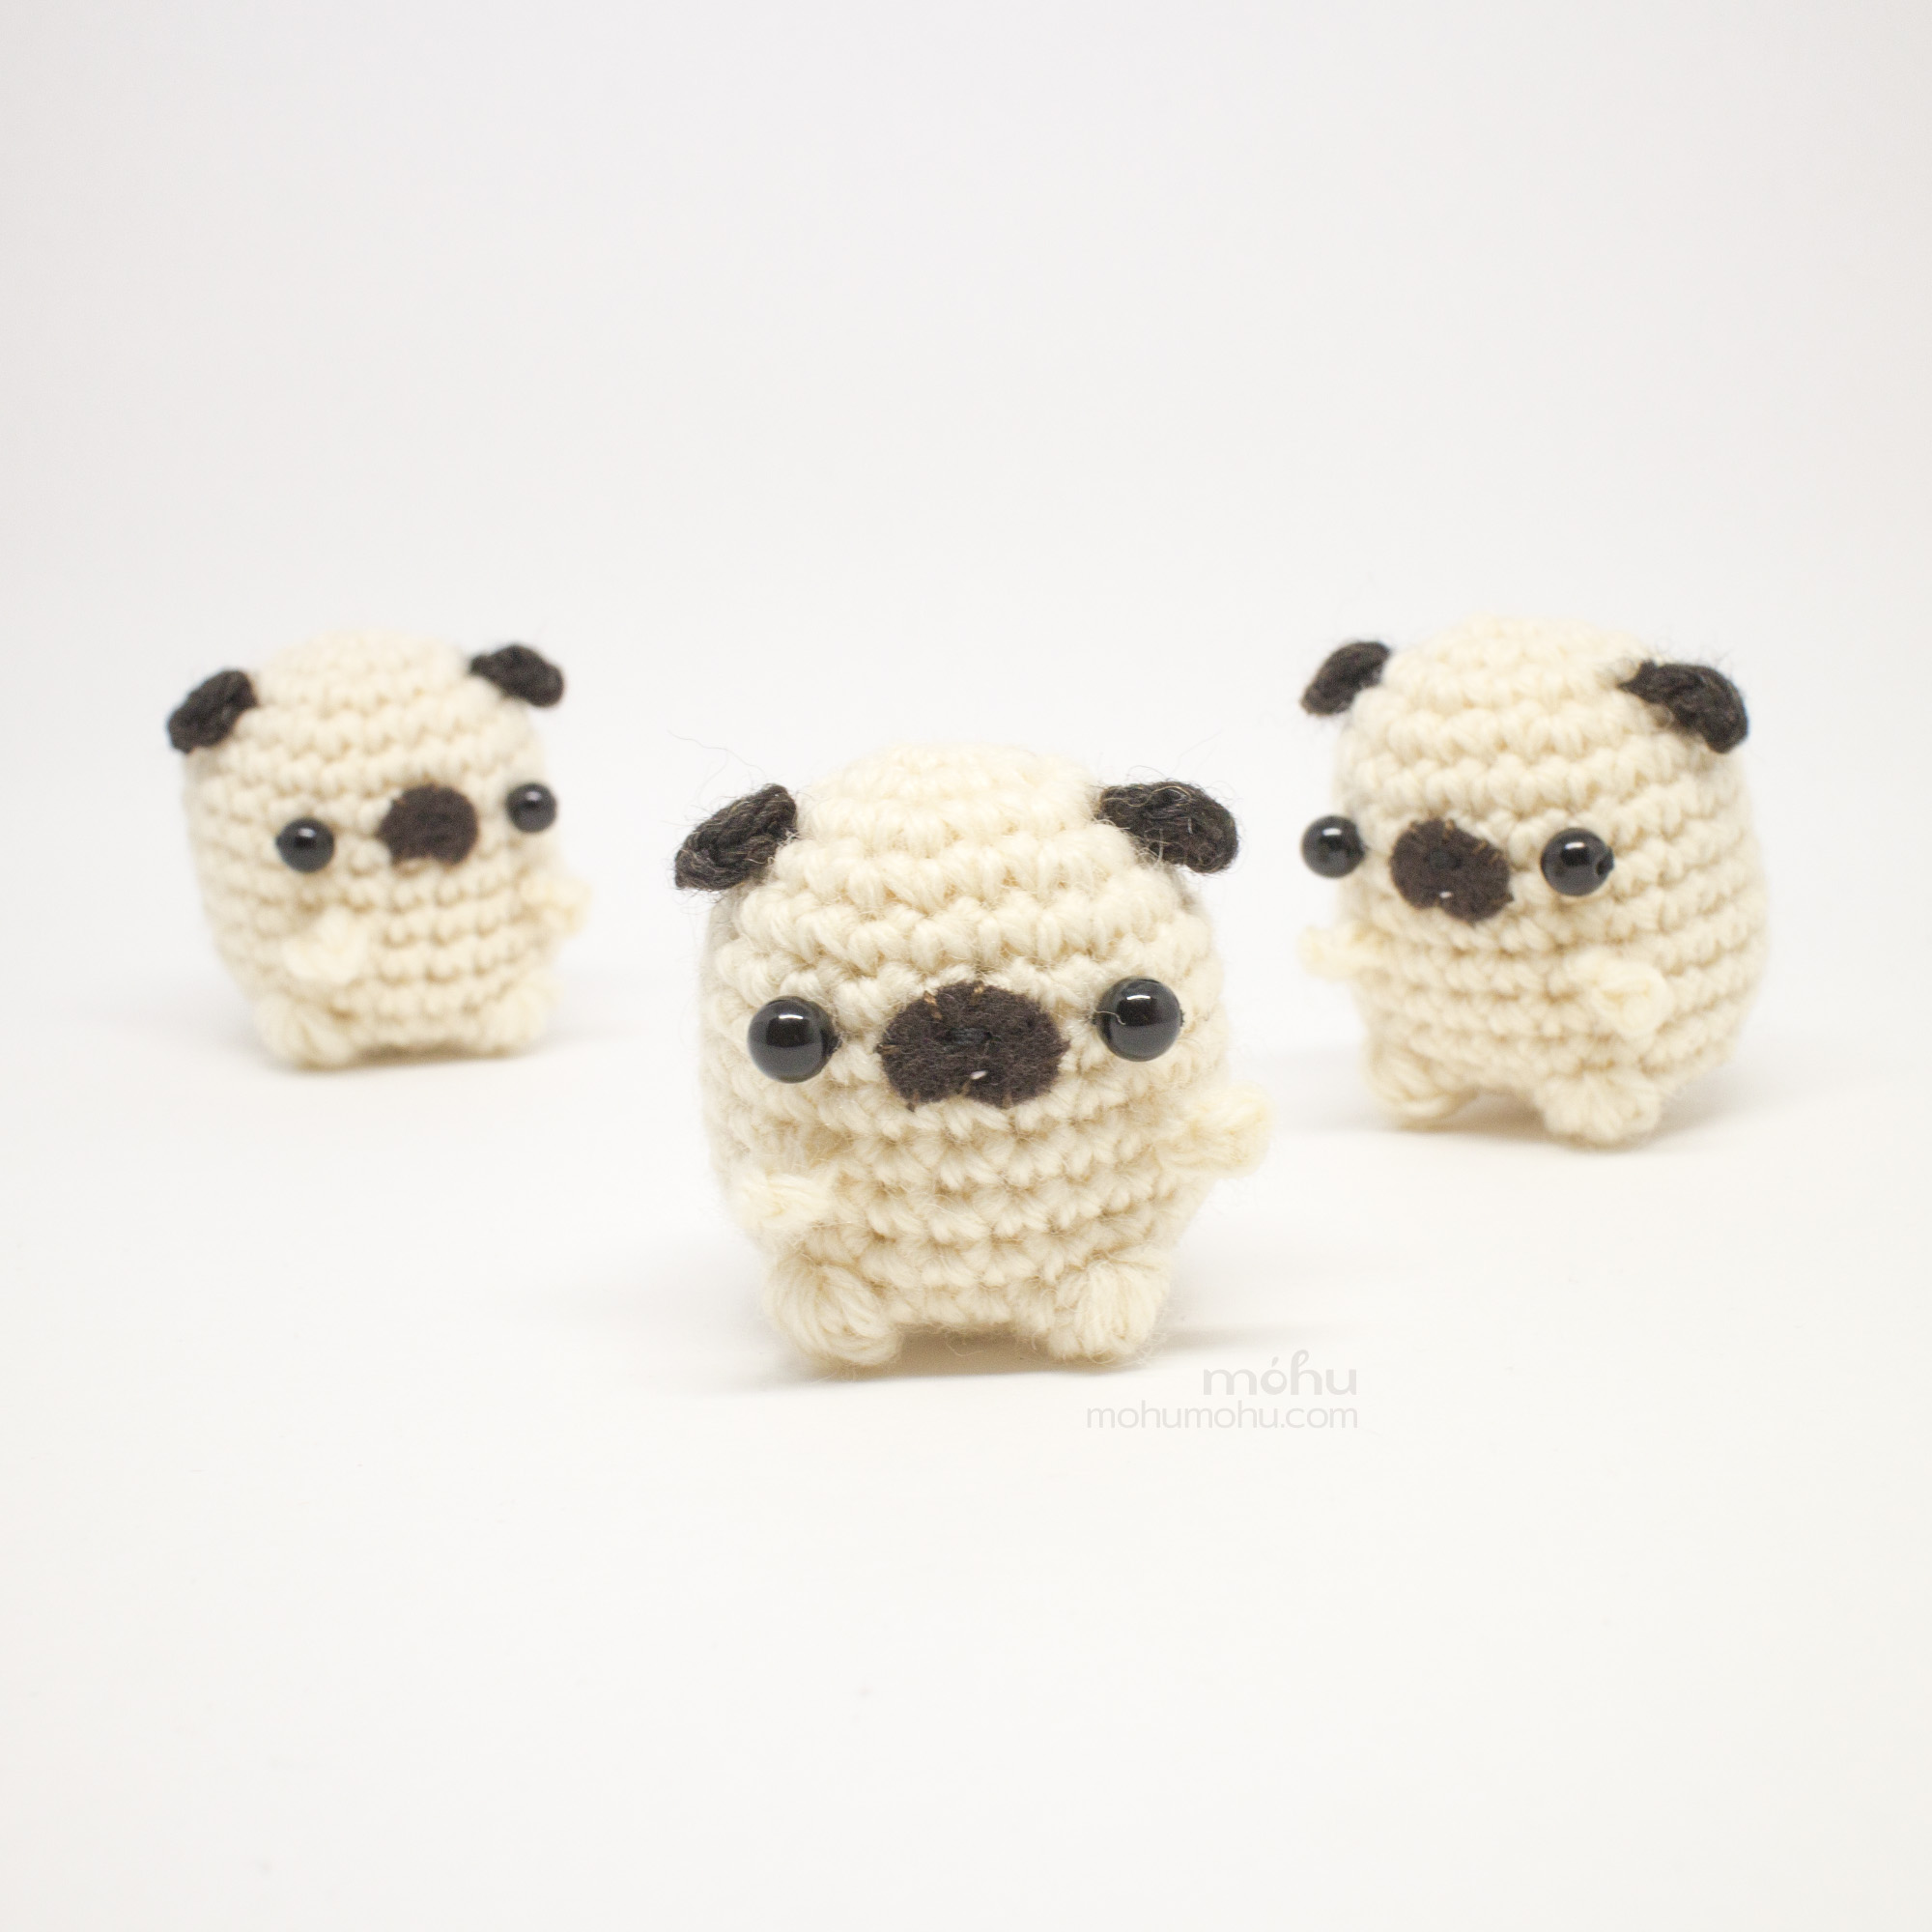
Crochet an adorable mini pug dog with this free amigurumi pattern and tutorial. Little pugs are so quick and easy to make, you'll soon have a whole grumble for yourself or your pug-loving friends and family
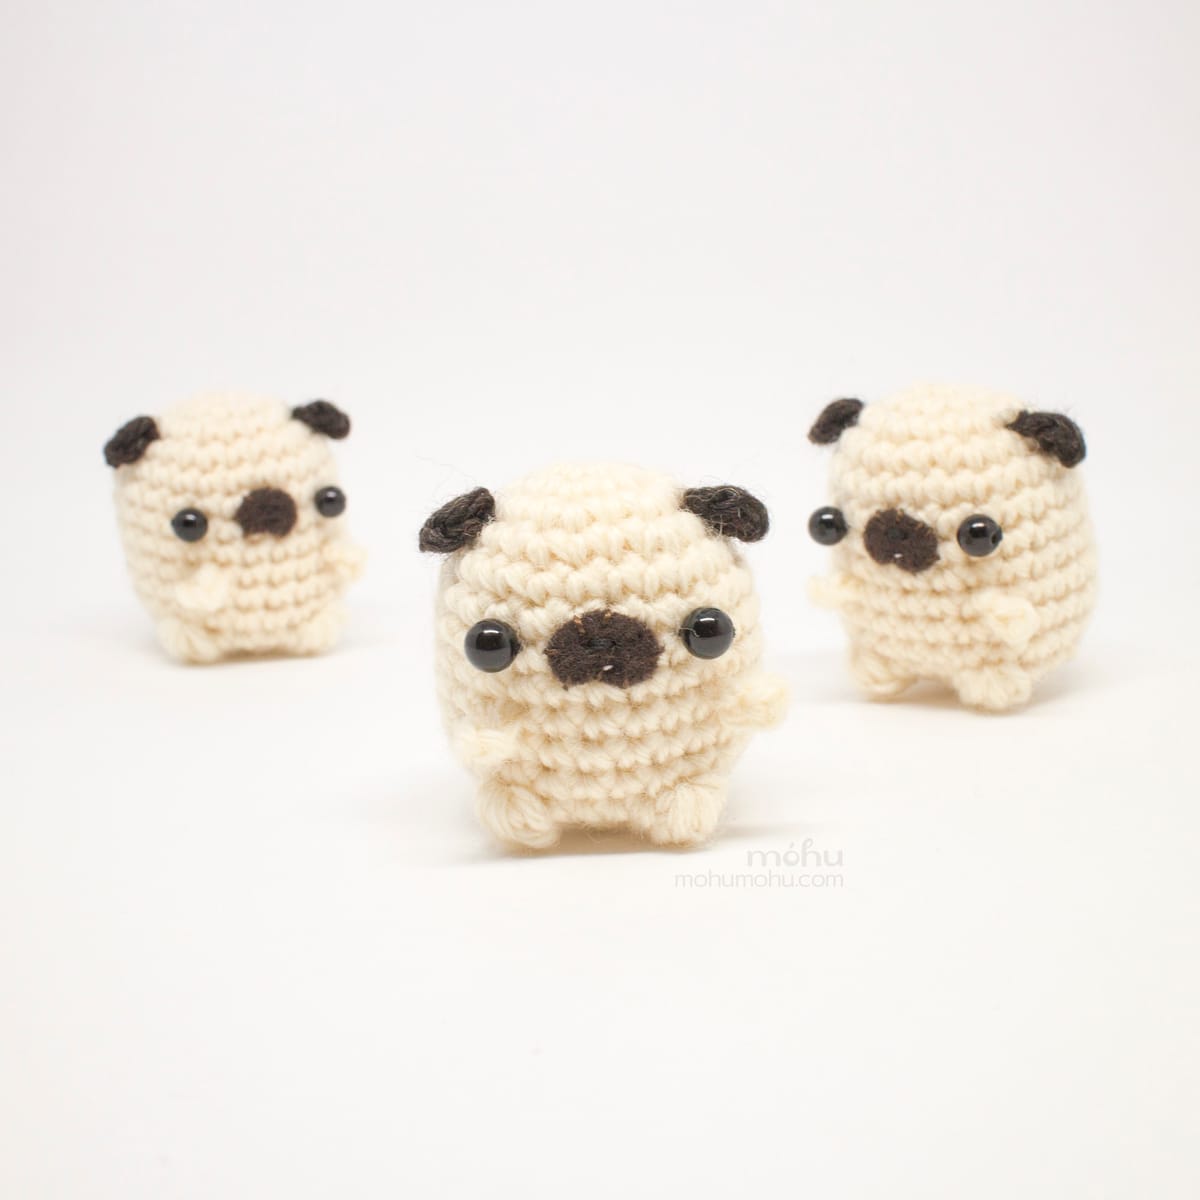
You might remember these little amigurumi pugs. They've been popping up in my Instagram and online store occasionally since 2017, and I finally got around to typing up the crochet pattern. Best of all, it's free!
Since these pugs are so easy to make, they're a great project for beginners. They only take about an hour to crochet, and require less than 15 meters (16.4 yards) of yarn, so they're good for using up leftovers too.
Amigurumi Pug Crochet Pattern
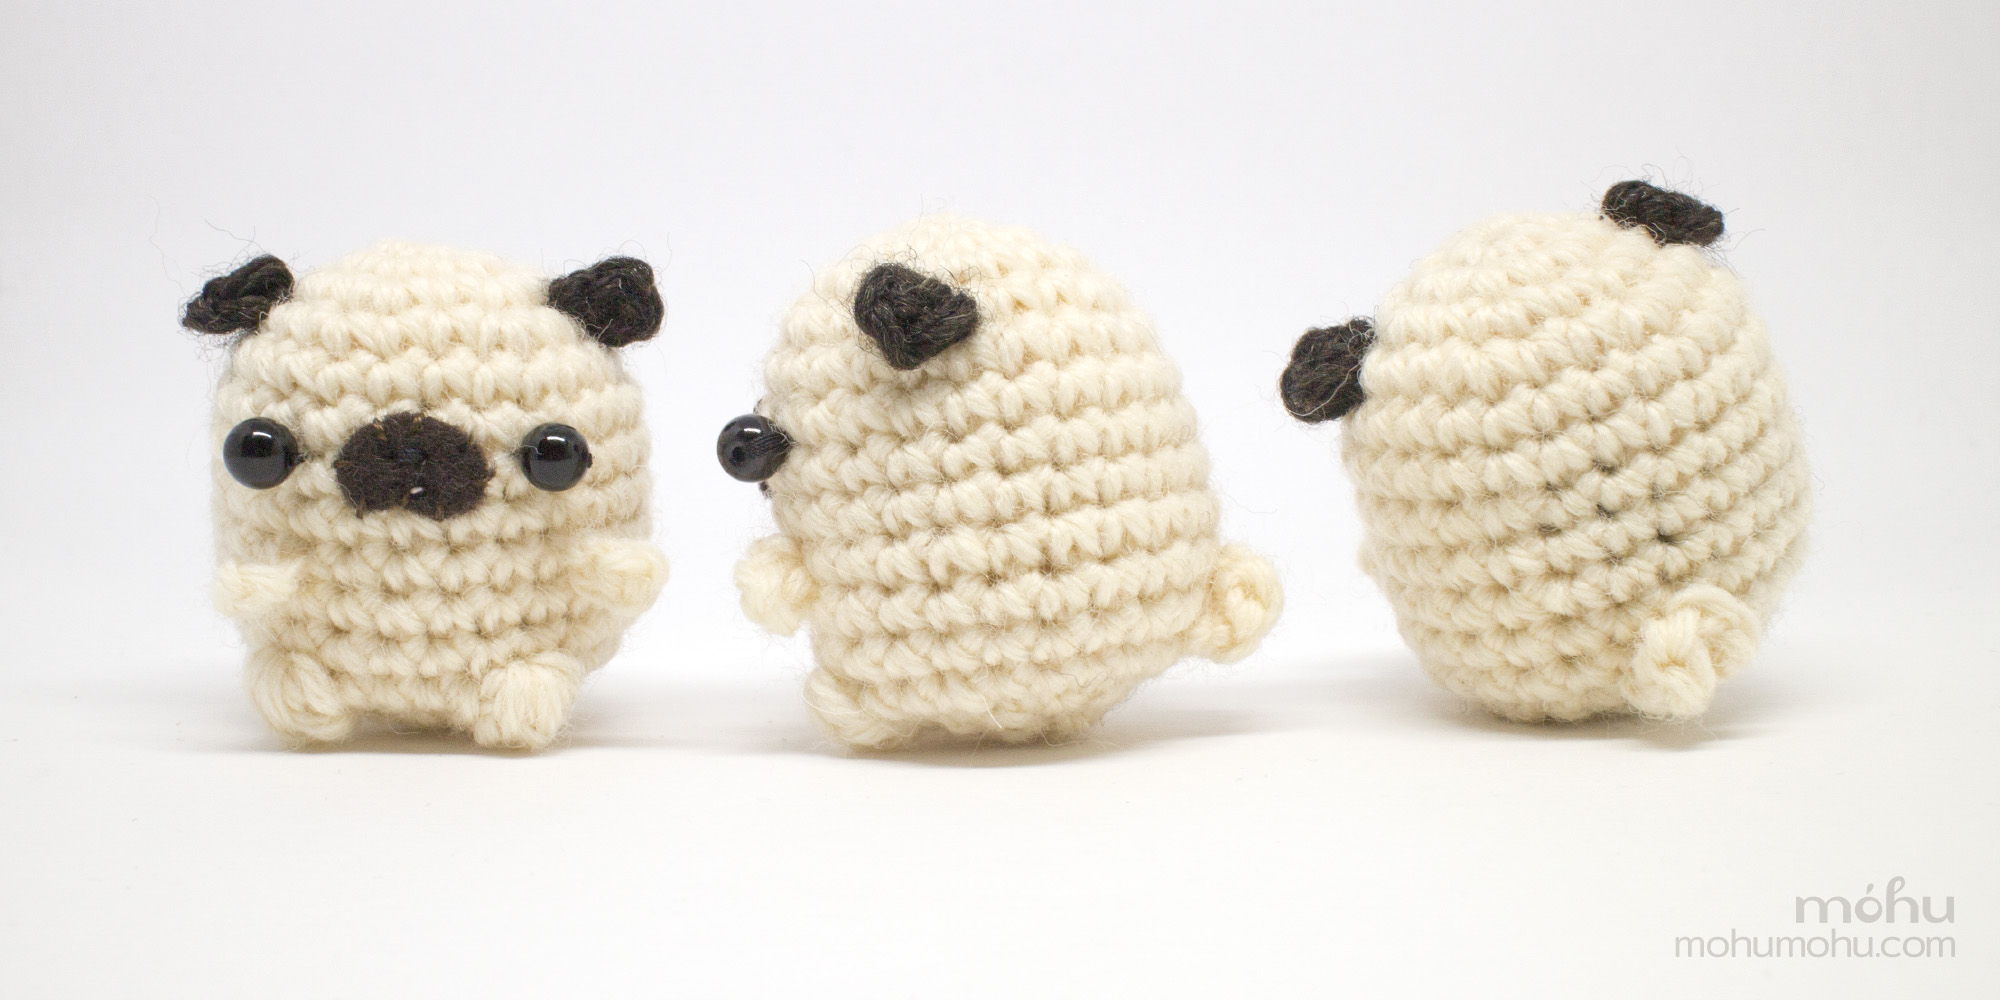
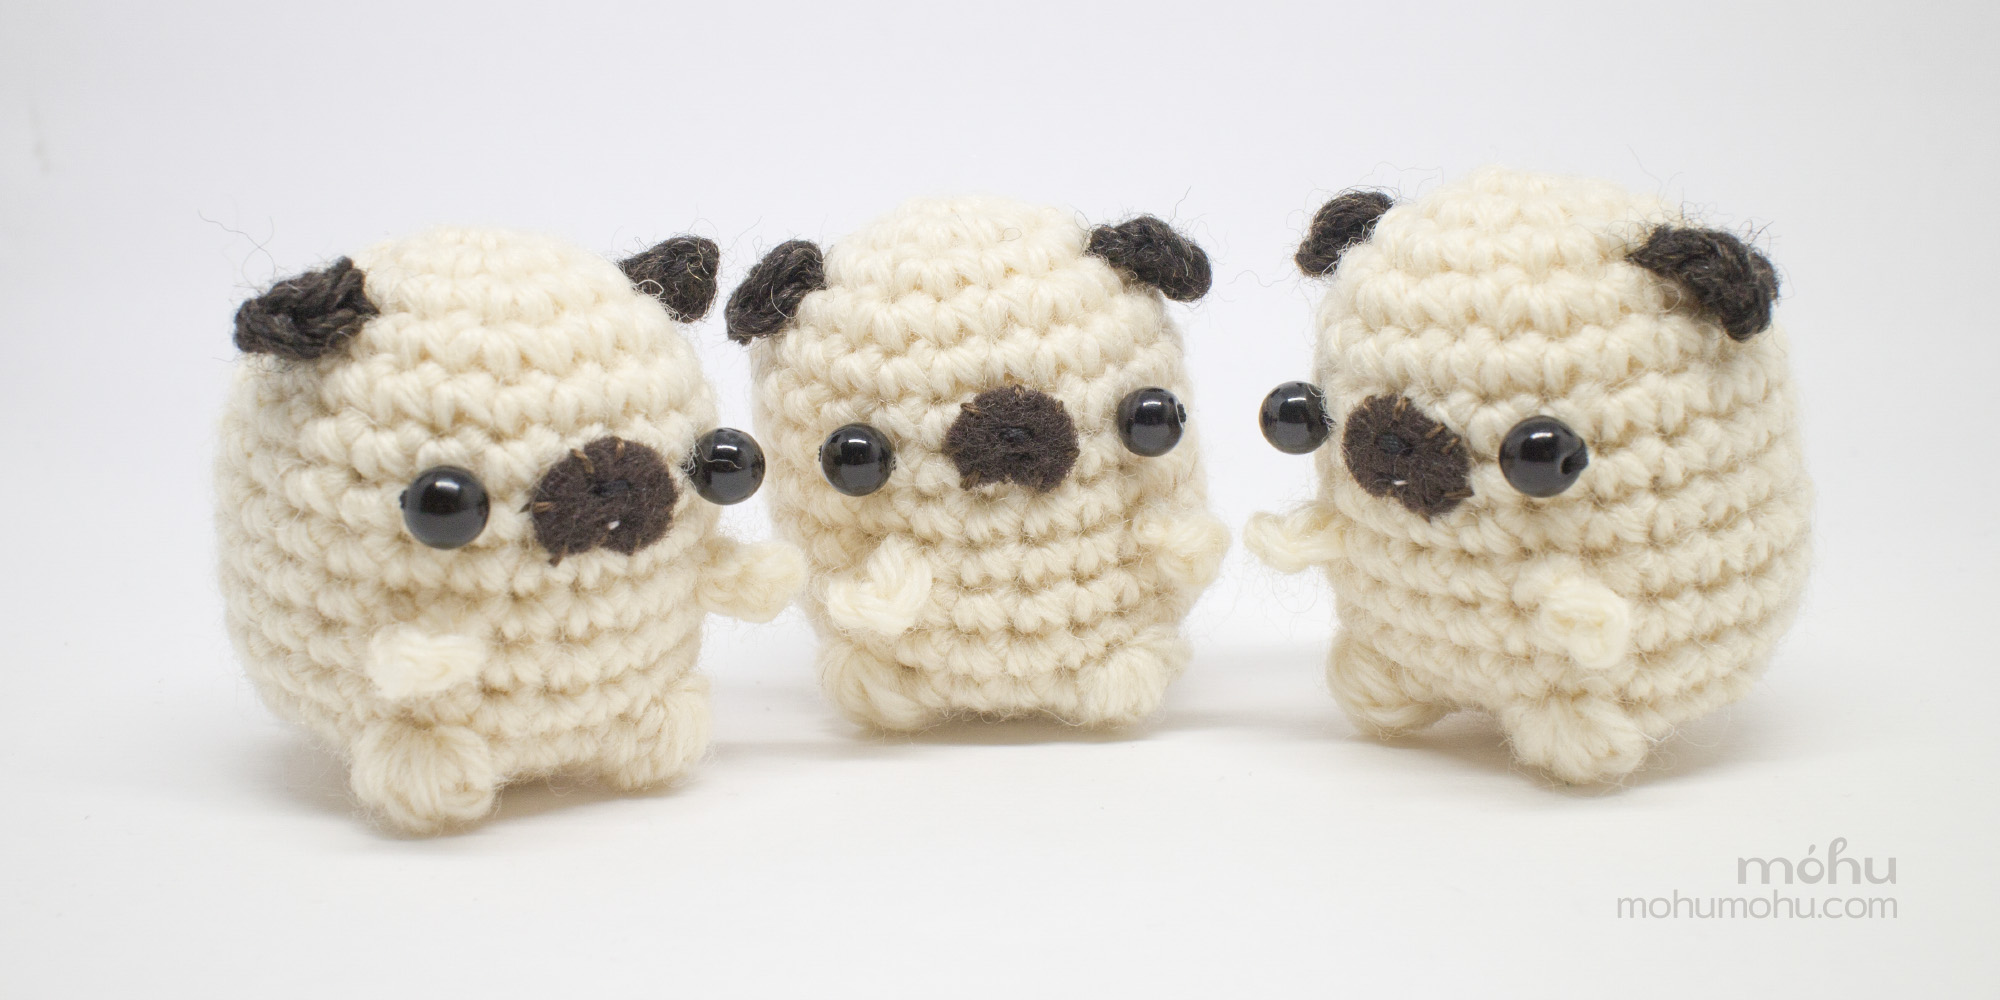
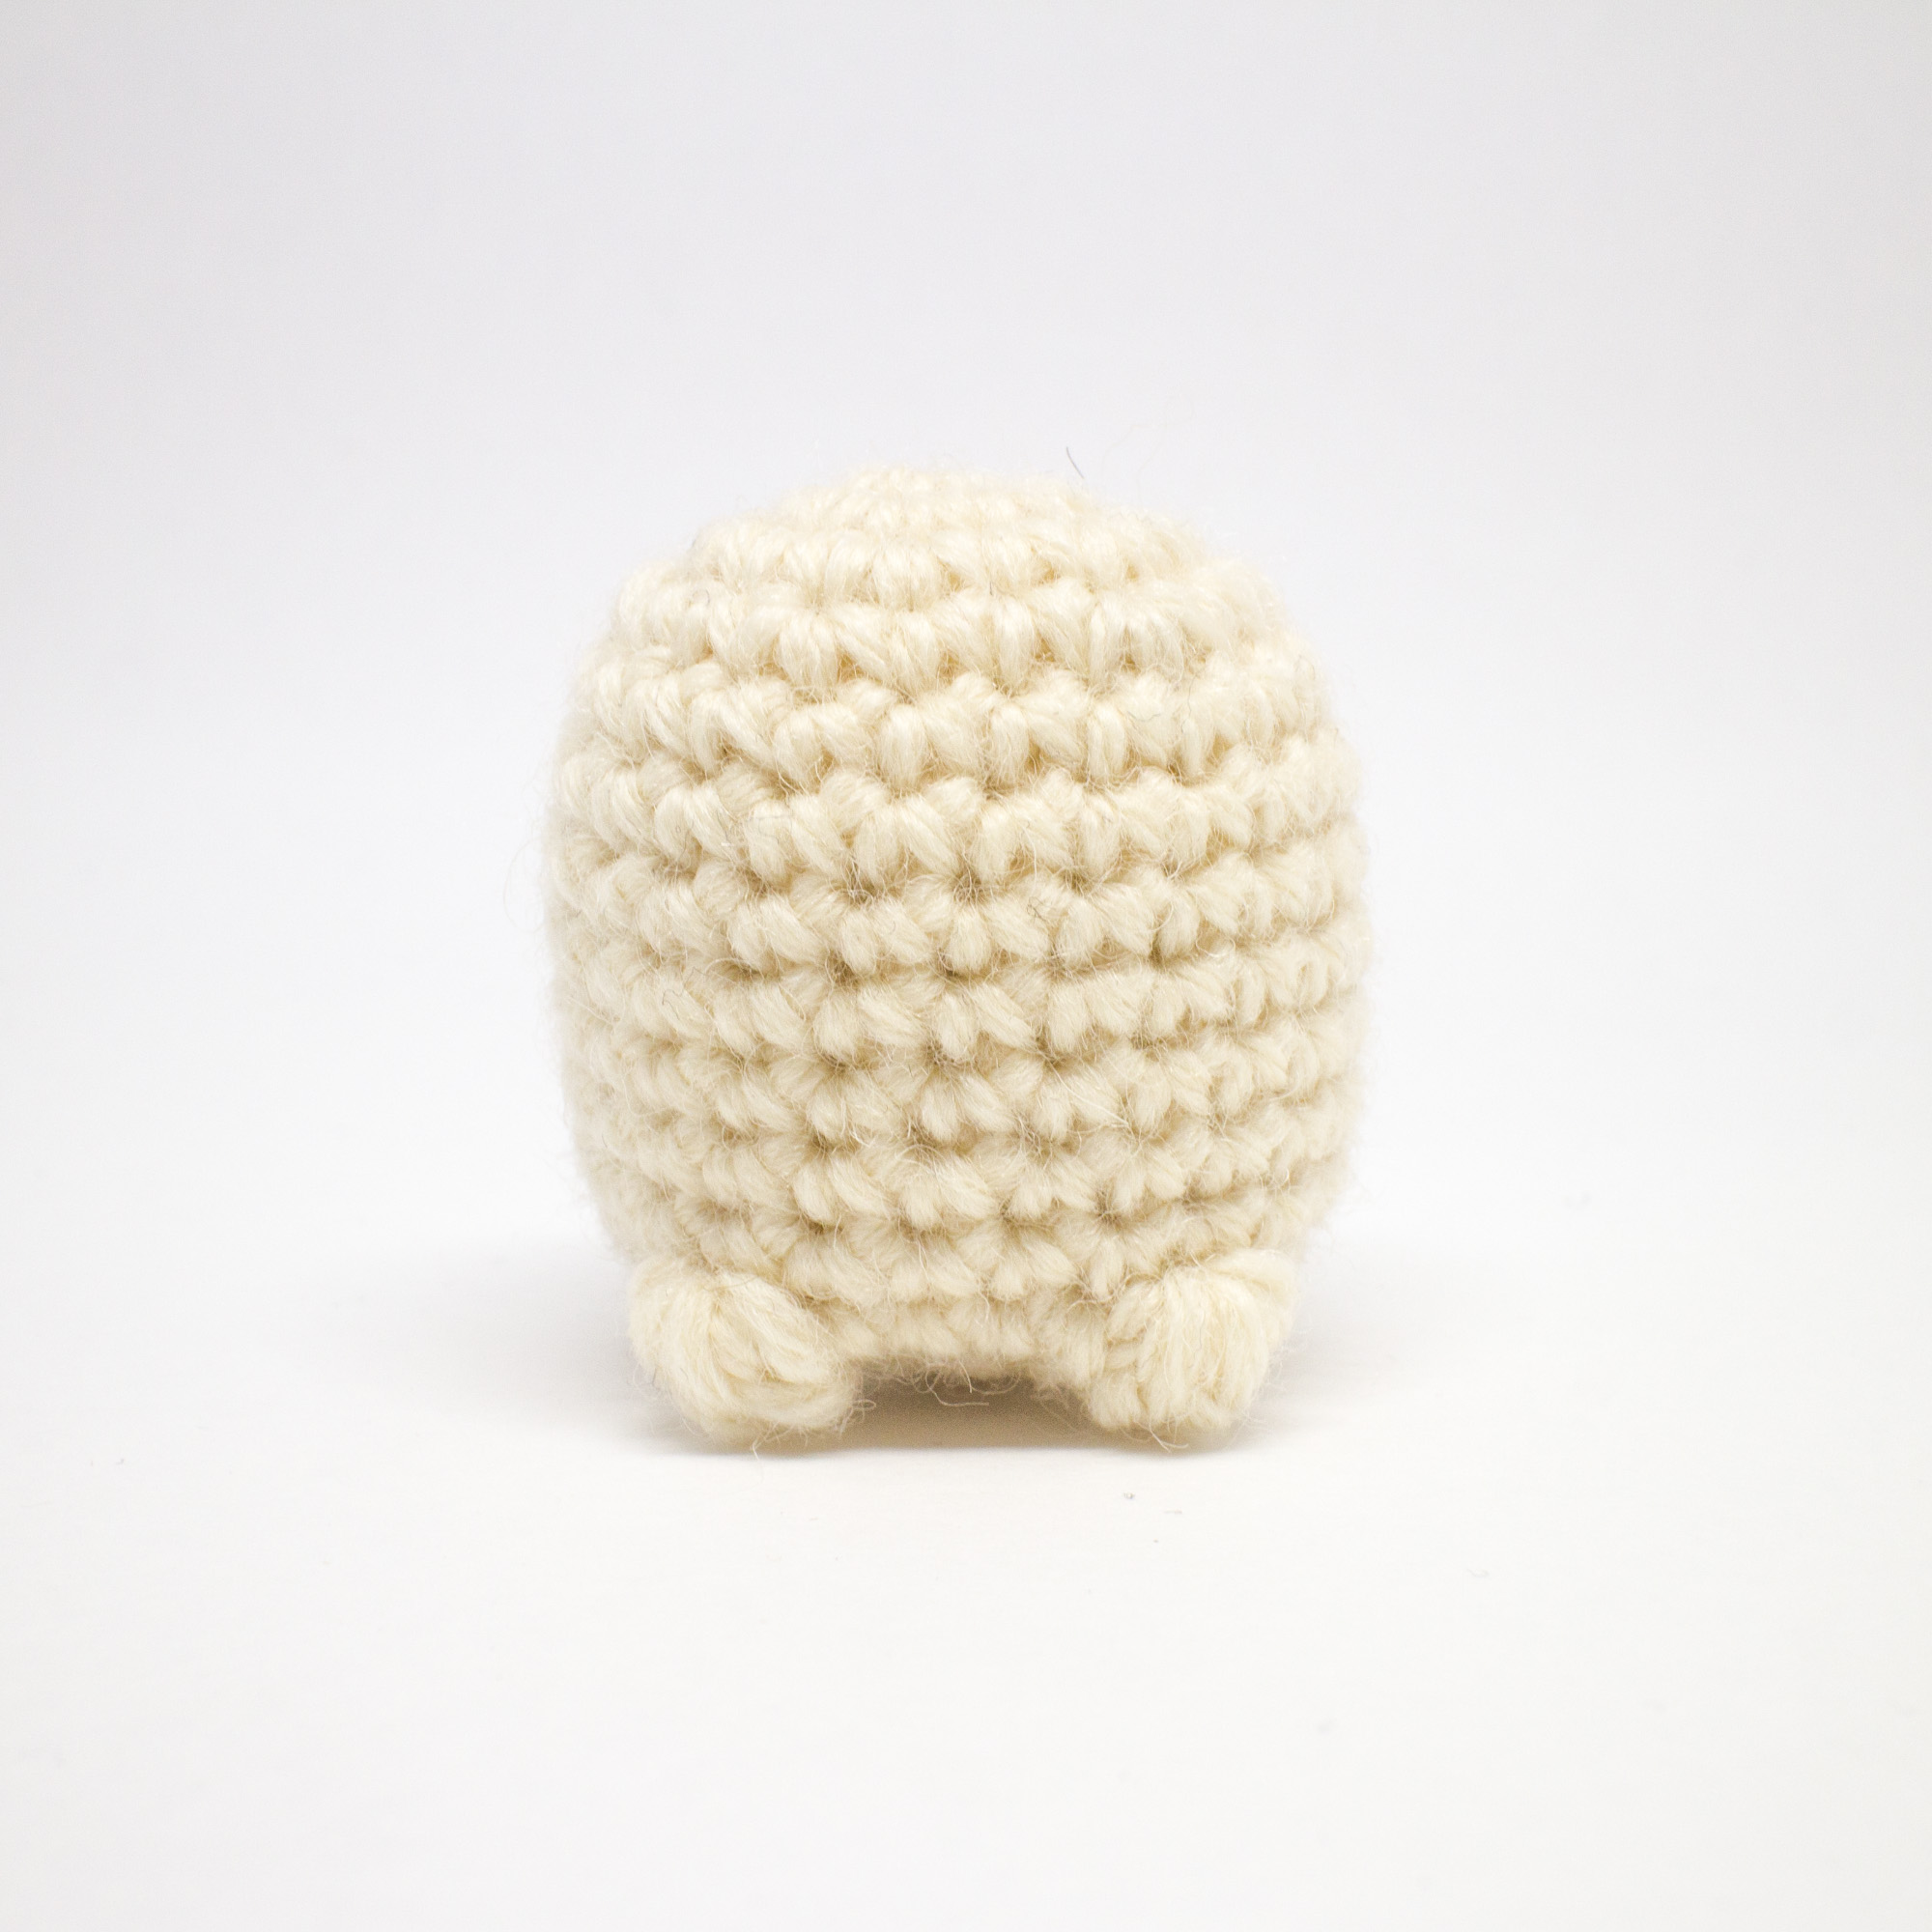
This amigurumi pug's body is crocheted from top to bottom, with two little bobble stitches for feet. The ears, hands, and tail are crocheted separately and sewn in place, along with a little felt snout and some cute beady eyes.
Difficulty: Easy.
If you're new to amigurumi, get a free copy of my beginner's guide when you sign up for my monthly newsletter.
Size:
Using medium (worsted) weight yarn and a 3.5 mm (E) crochet hook, your pug will be about 5 cm (2 in) tall. However, exact gauge isn't important, and you can easily adjust the size by using thicker or thinner yarn.
You will need:
• Medium (worsted) weight yarn in body colour - about 14 m (15.3 yds)
• Medium (worsted) weight yarn in ear colour - about 1 m (1.1 yd)
• 6 mm round black beads for eyes
• Dark brown craft felt
• Sewing thread - brown, black & pink
• Toy stuffing
• 3.5 mm (E) crochet hook
• Sewing needle
• Yarn needle
Abbreviations (US crochet terms):
R - round(s)
st(s) - stitch(es)
sc - single crochet
hdc - half double crochet
sc2tog - single crochet 2 together
mb - make bobble
yo - yarn over
Special stitch: The Bobble
Yo and insert hook into desired stitch, yo and pull yarn through stitch, yo and pull yarn through 2 loops on hook (2 loops left on hook).
* Yo and insert hook into SAME stitch, yo and pull yarn through, yo and
pull yarn through 2 loops on hook (3 loops left on hook).
Repeat from * one more time (4 loops left on hook).
Yo and pull yarn through ALL loops on hook. This counts as one bobble stitch (abbreviated as mb).
Pattern
Body:
Work in the round, without joining rounds.
Using body colour yarn, start with an adjustable ring.
R1: 6 sc in the ring.
R2: 2 sc in each st around. (12 sts)
R3: (2 sc in next st, sc in next st) 6 times. (18 sts)
R4: (2 sc in next st, sc in next 2 sts) 6 times. (24 sts)
R5-11: sc in each st around, for 7 rounds. (24 sts per round)
R12: sc in next 6 sts, mb, sc in next 4 sts, mb, sc in next 12 sts. (2 bobbles and 22 sc)
R13: sc2tog 12 times. (12 sts)
Stuff the body, making it nice and puffy.
R14: sc2tog 6 times. (6 sts)
Cut the yarn, leaving a long tail for sewingand finish off. Add a little more stuffing if neccessary, then sew the hole closed.
Hands (make 2):
Using body colour yarn, chain 3.
R1: sc in the very first chain.
Cut yarn, leaving a long tail for sewing, and finish off.
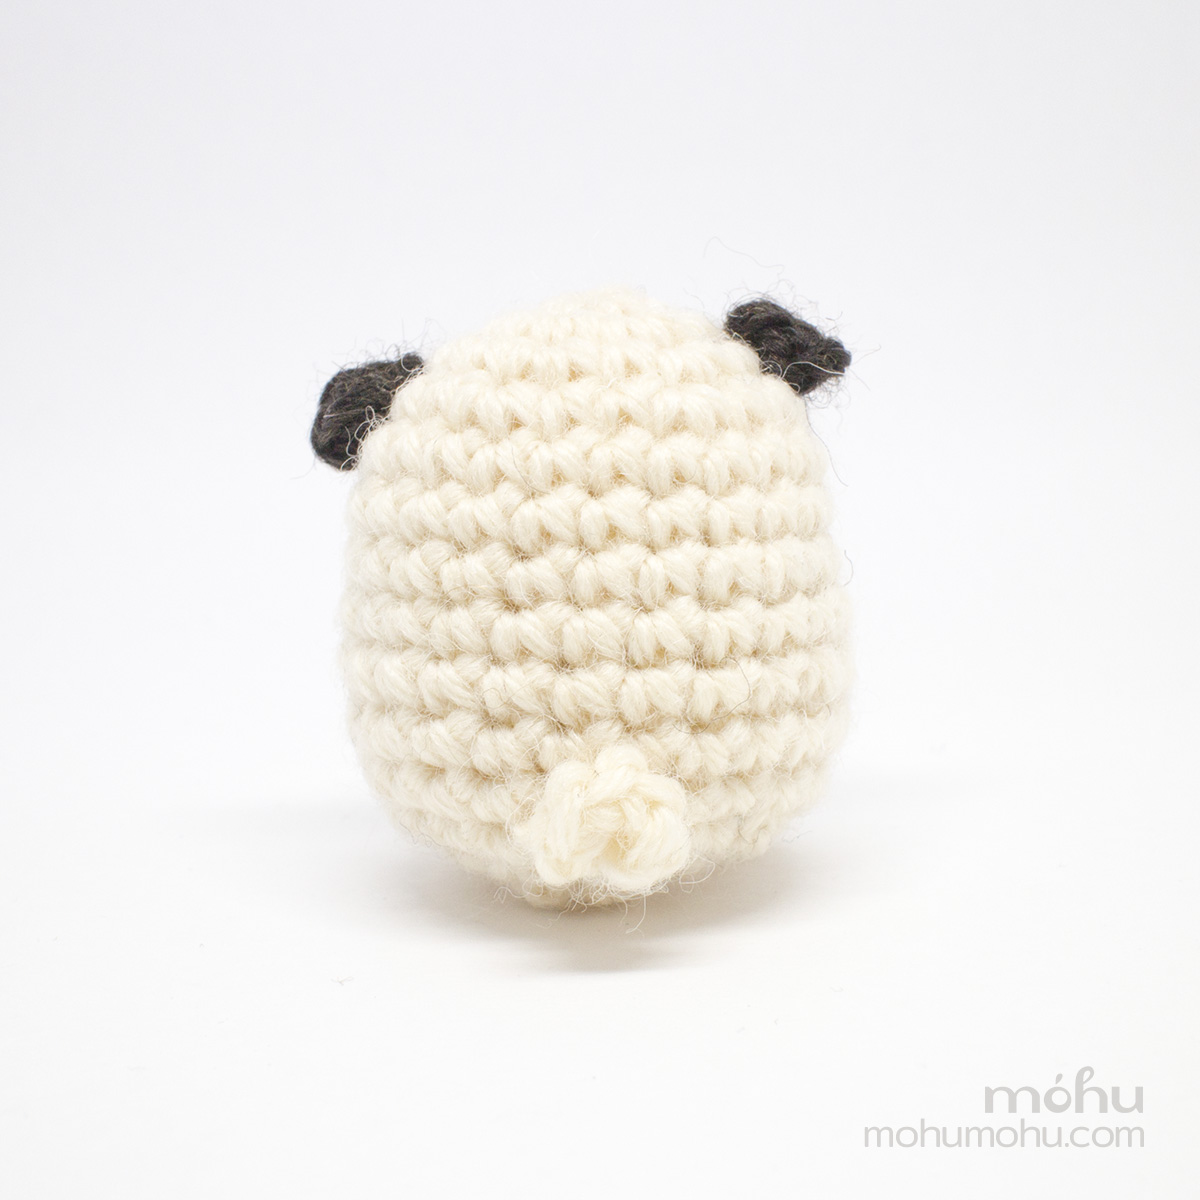
Tail:
Using body colour yarn, chain 7.
R1: Sl st in 2nd chain from hook, sl st in each of the next 5 chains. (6 sts)
Cut yarn. leaving a long tail for sewing, and finish off.
Ears (make 2):
Using ear colour yarn, chain 3.
R1: hdc in the very first chain.
Cut yarn. leaving a long tail for sewing, and finish off.
Finishing:
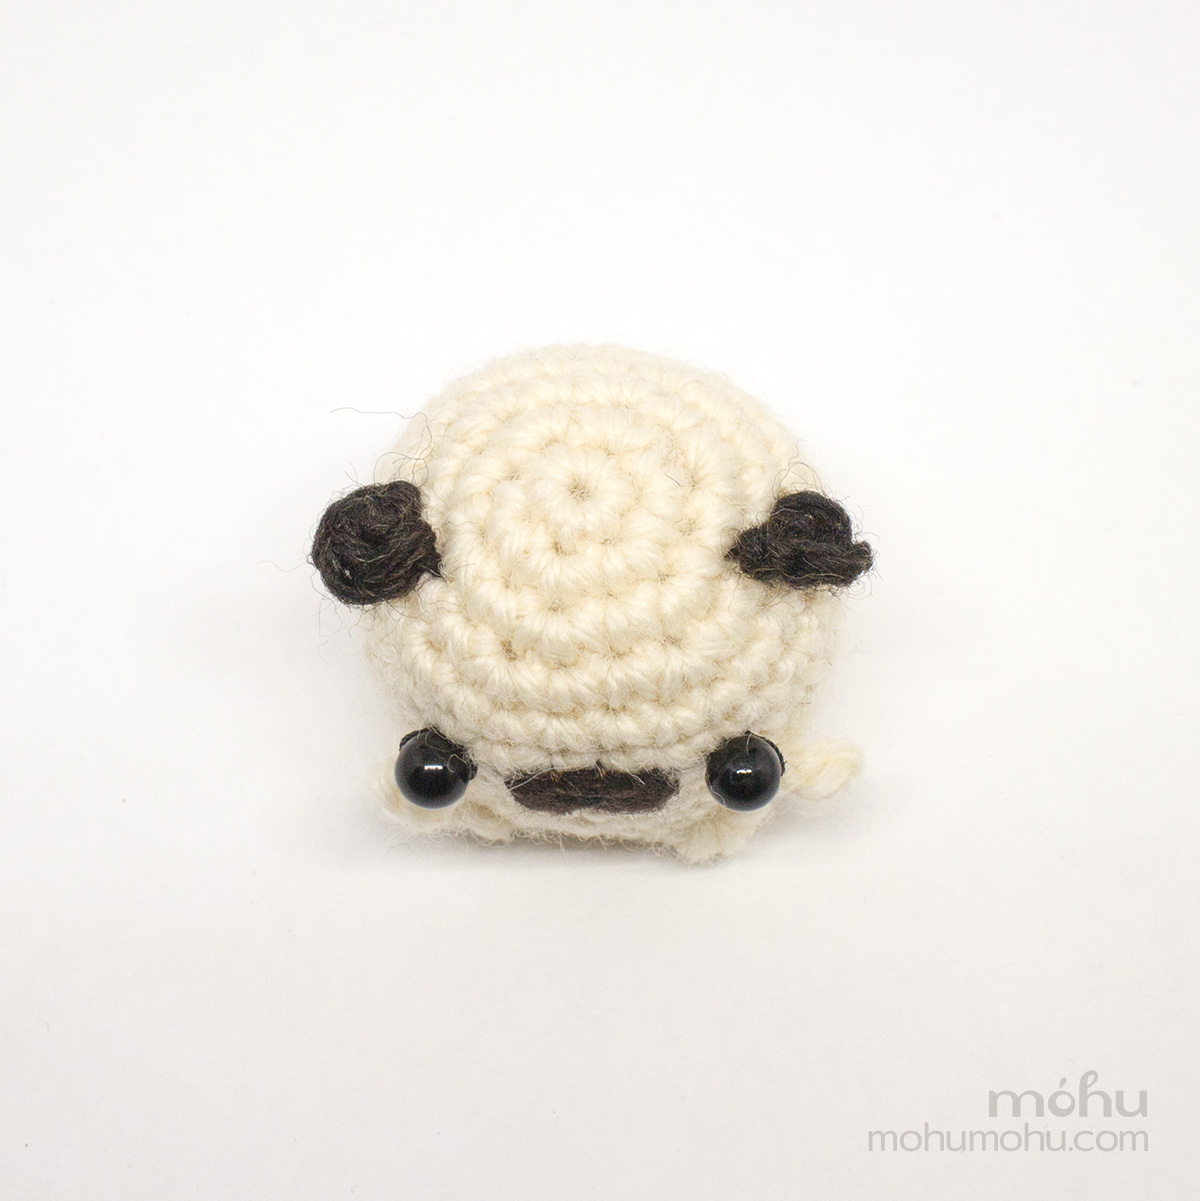
Cut a small rectangle out of brown craft felt, about 1.2 cm (0.5 in) long and 1 cm (0.4 in) wide. Round off the corners of the rectangle so you're left with a small oval shape. Then cut a small triangle away from the bottom middle, to make a tiny snout shape that looks like this:

Use brown thread to sew the snout onto your pug's face, in line with rounds 6 and 7 of the body.
No-sew option: If you're familiar with needle felting, you can use wool roving and felt the snout directly onto your pug's face instead.
With black thread, sew a beady eye onto either side of the snout in between rounds 6 and 7, and embroider a small nose and mouth in the middle of the face.
Use pink thread to embroider a tiny tongue just below the mouth.
Sew the hands in place just below the eyes, in line with round 9 of the body.
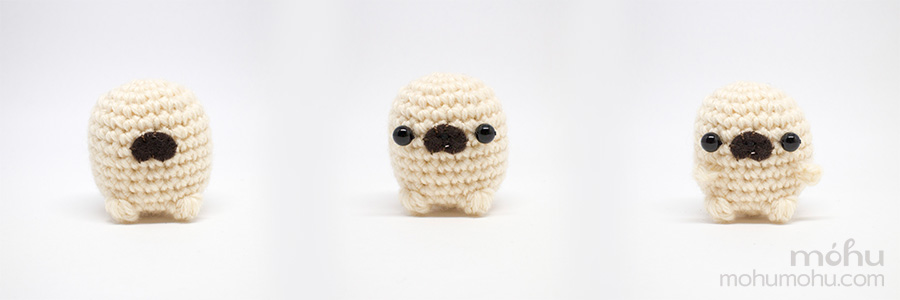
Sew the ears evenly on top of the head, in line with round 4 of the body.
Finally, sew the tail onto the back of your pug, between rounds 11 and 12 of the body. Sew the middle of the tail down to make the curl.
Your little pug is now complete! If you want, add a hanging loop to make an ornament, or sew a keychain onto the top of your pug's head.
You can add this pattern to your queue and favorites on Ravelry. Or share photos of your creation on Instagram using #mohupattern. You'll even have a chance to be featured on our Instagram page!
If you need more pugs (and who doesn't?), take a look at my original mini pug pattern, available as a pdf download or amigurumi kit.

Copyrights and selling your finished amigurumi:
This crochet pattern, amigurumi design, and all accompanying photos remain the copyright of Lauren Bergstrom of Móhu Store. You may not publish or distribute this pattern, or altered versions of the pattern (including variations, translations and videos), without permission.
You're welcome to sell physical items made from this pattern, as long as you credit Móhu as the designer. For online listings, add a note at the bottom of each listing saying ‘made from a Móhu pattern’ (or something similar). I also appreciate it if you include a link to the pattern, or to mohumohu.com. For selling in person, a small tag with the information on each amigurumi will do.
The amigurumi you sell must be made by an individual person (no production line or mass-production). You may not use my photos to sell your own work.