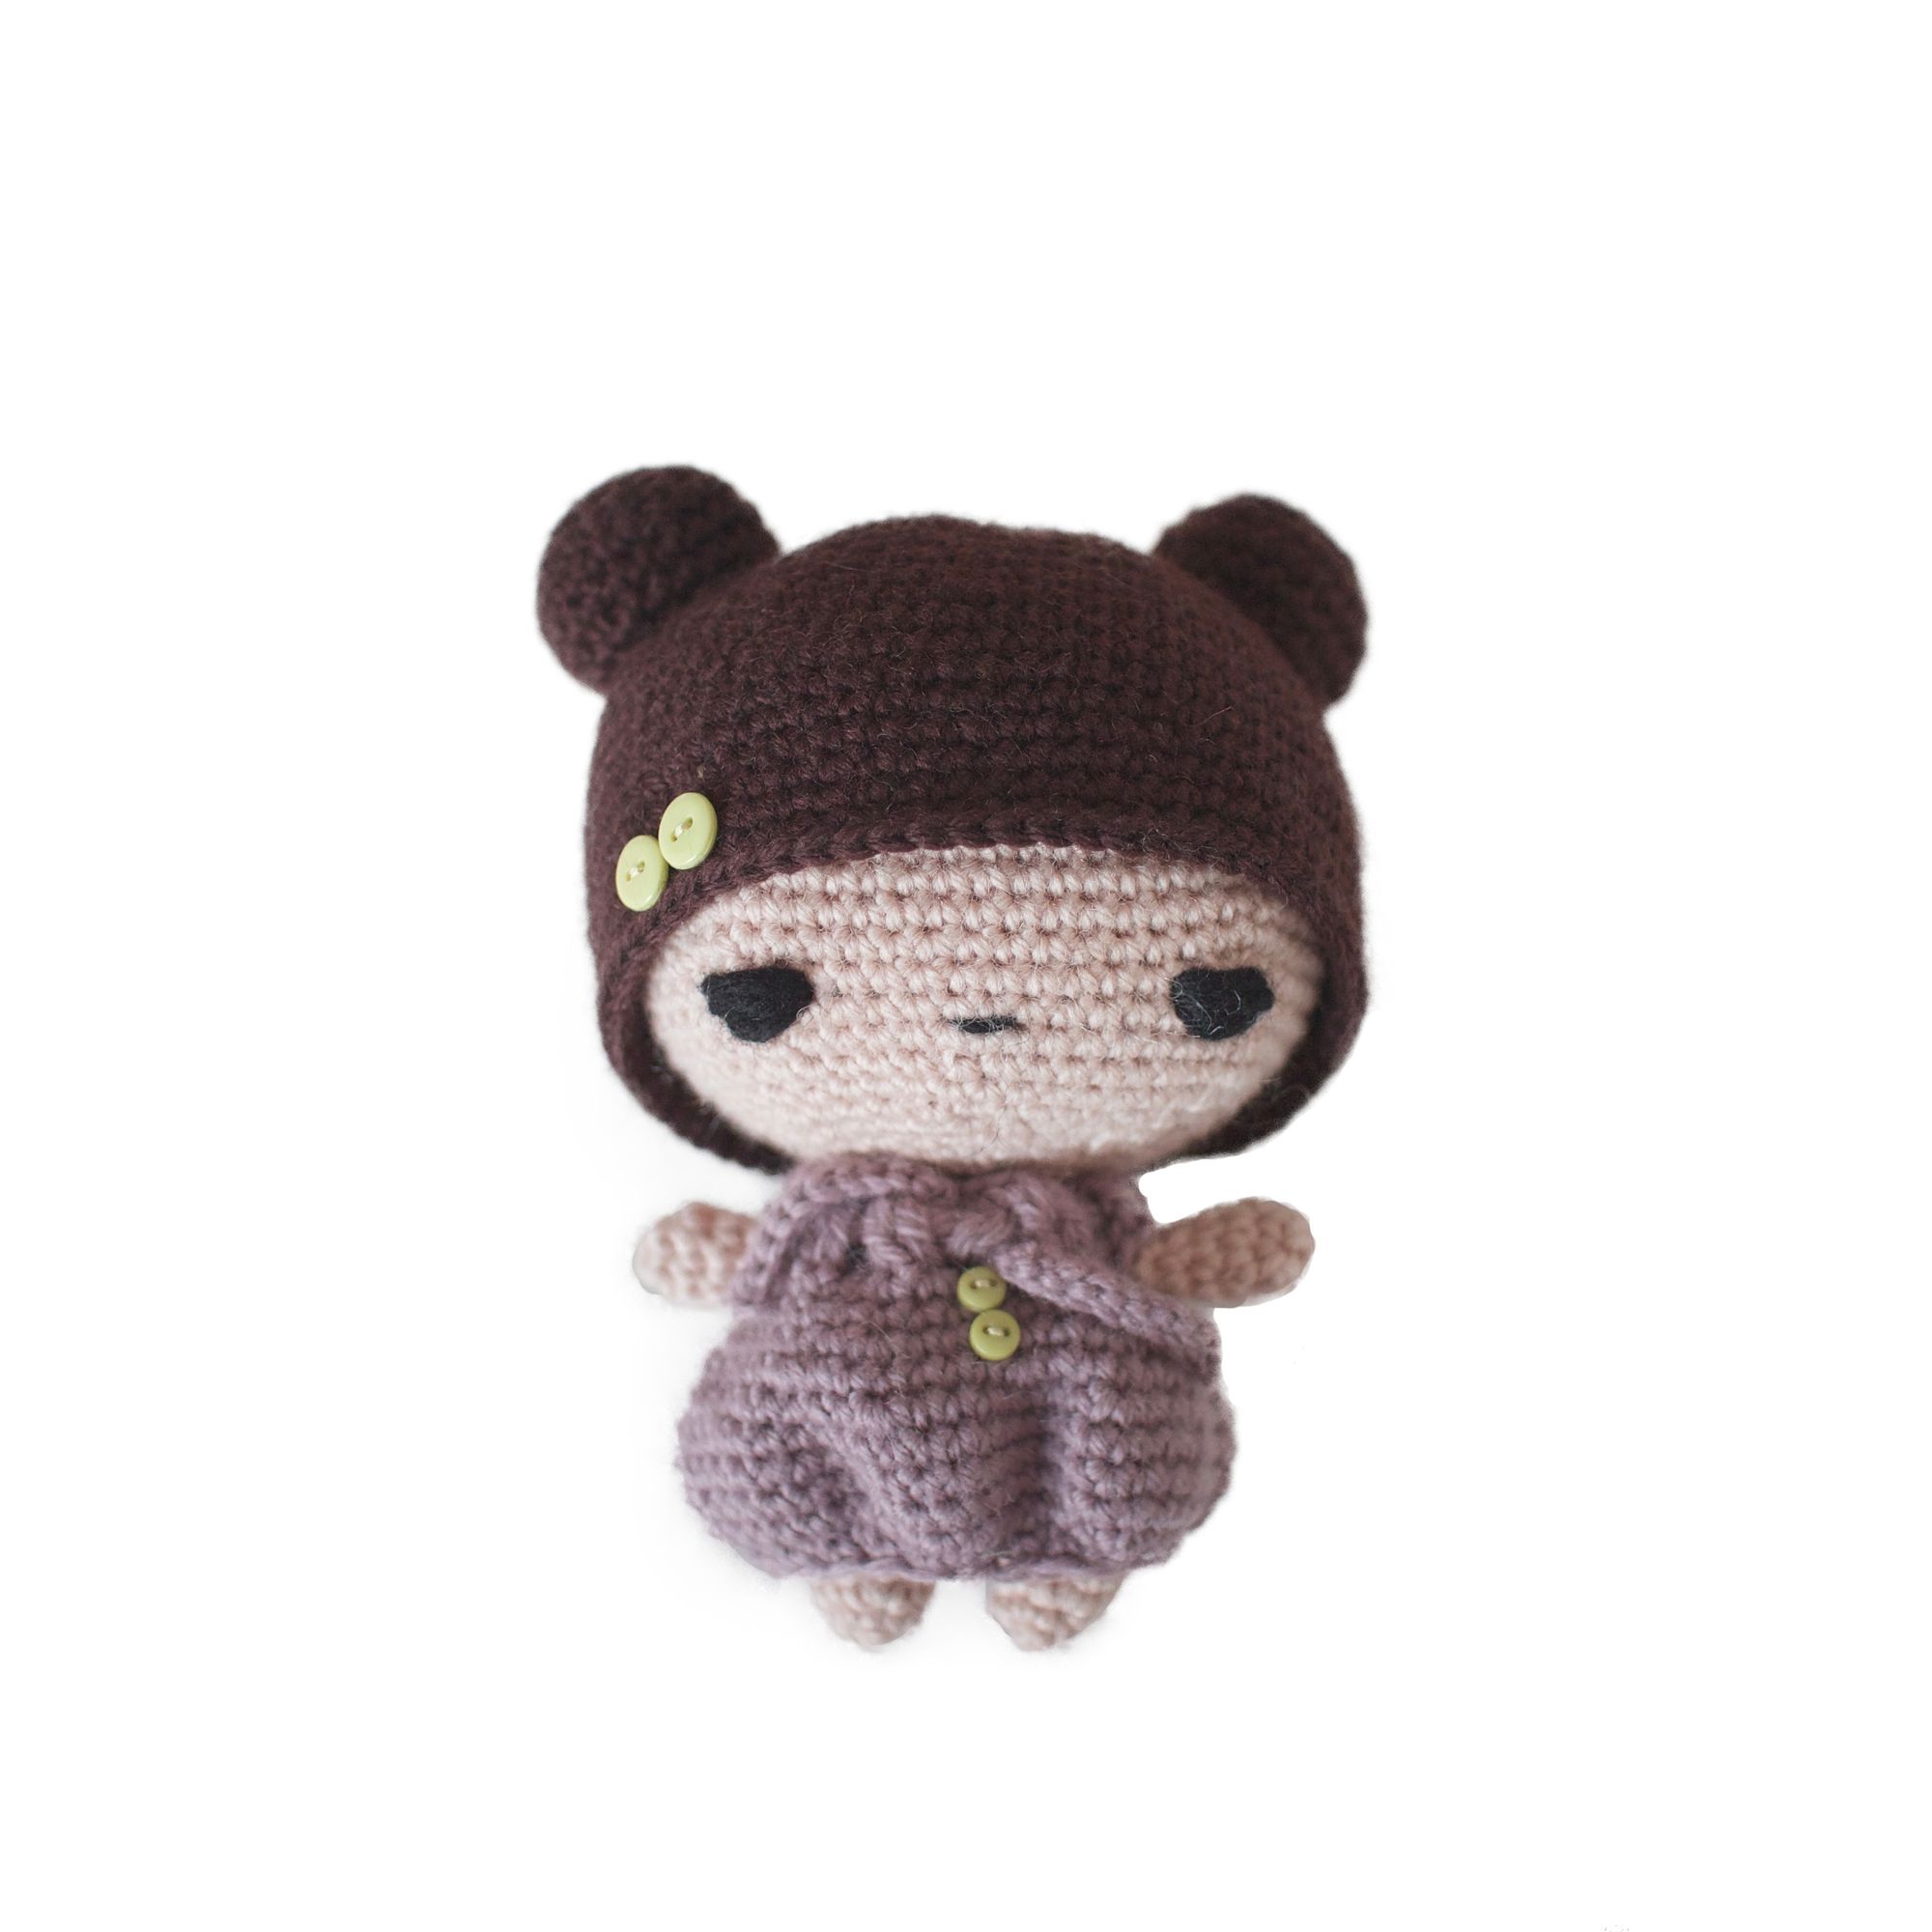
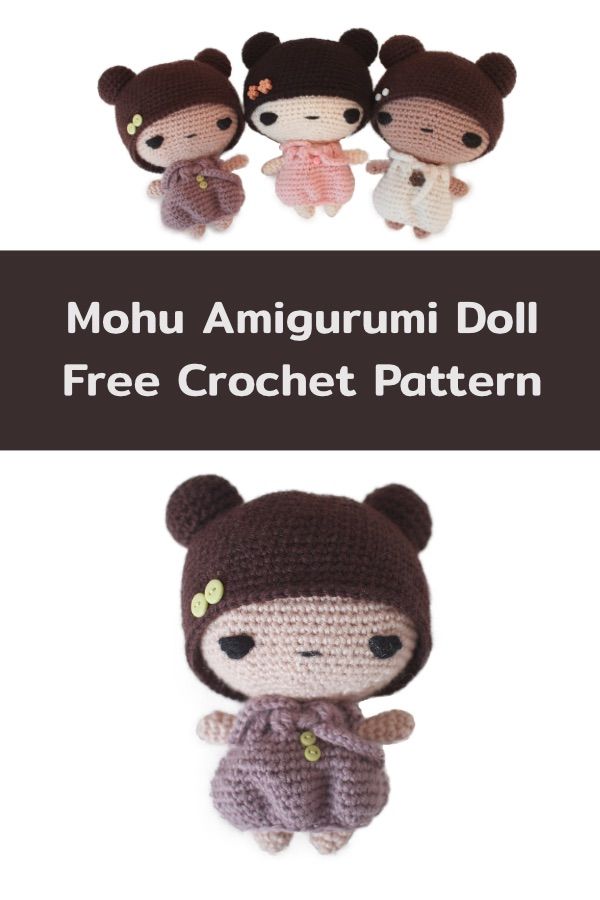
Amigurumi Móhu Doll - Free Crochet Pattern
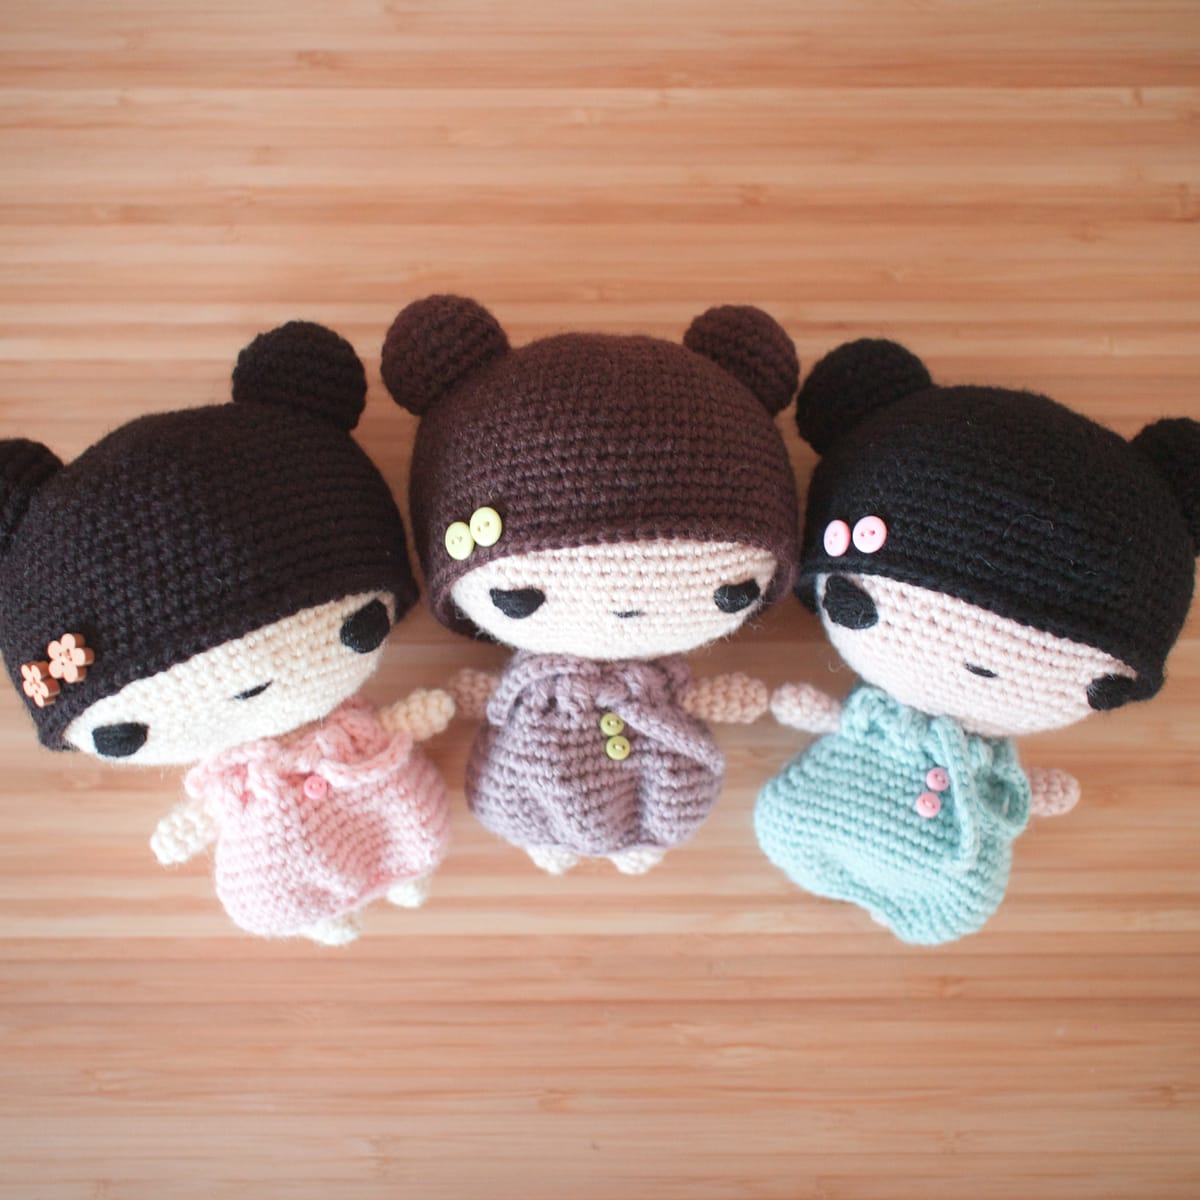
As part of my shop's 10 year anniversary this July, I hosted my very first mystery crochet-along on Instagram. Now that the final amigurumi has been revealed, I'm posting the full pattern here on my blog so that it's easier to read. You can also buy a pdf version with lots of detailed photos in my store.
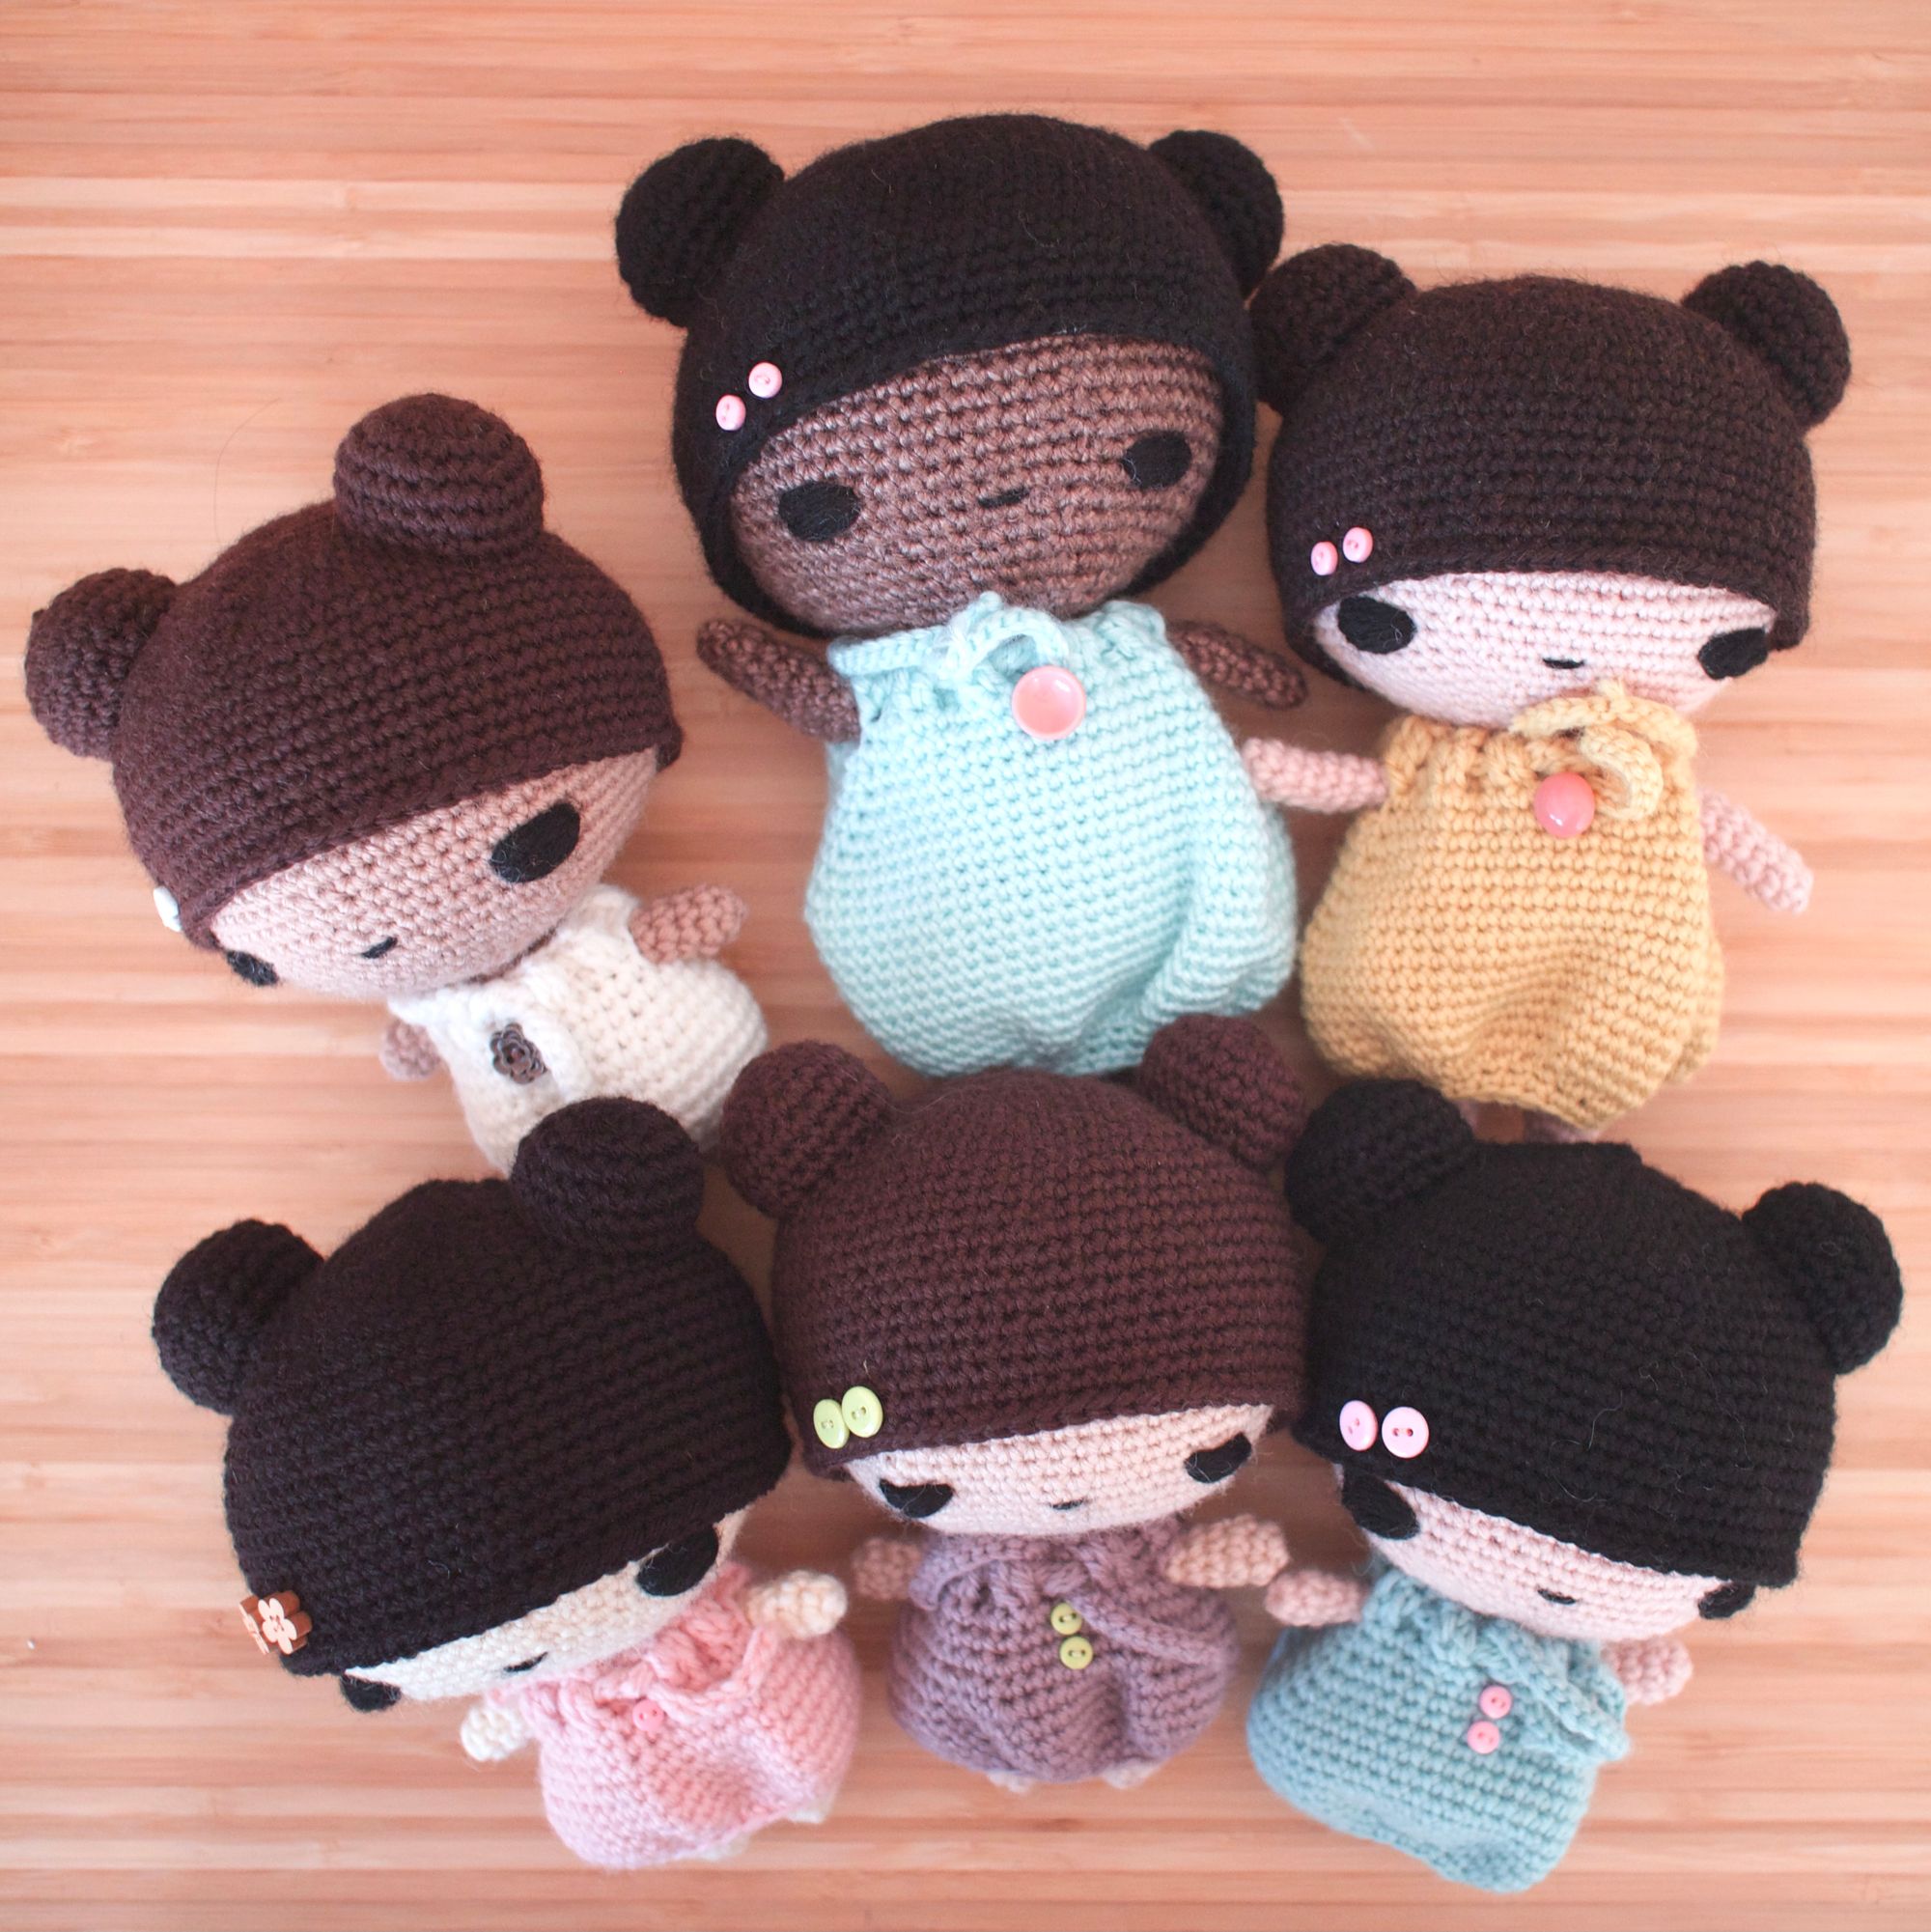
Amigurumi Doll Free Crochet Pattern
This cuddly crochet doll takes just a few hours to make. Start by crocheting the arms. Then make the legs, and continue on to the body. The arms are crocheted into the body as you go, so no sewing is required. Next, crochet the head, hair and dress, and sew everything together, adding an embroidered face. Finally, finish off your doll with some cute little buttons or beads.

Difficulty: Easy to intermediate
If you're new to amigurumi, get a free copy of my beginner's guide when you sign up for my monthly newsletter.
Size:
Using medium (worsted) weight yarn and a 3.5 mm (E) crochet hook, your doll will be about 16 cm (6.3 in) tall. However, exact gauge isn't important, and you can easily adjust the size by using thicker or thinner yarn.
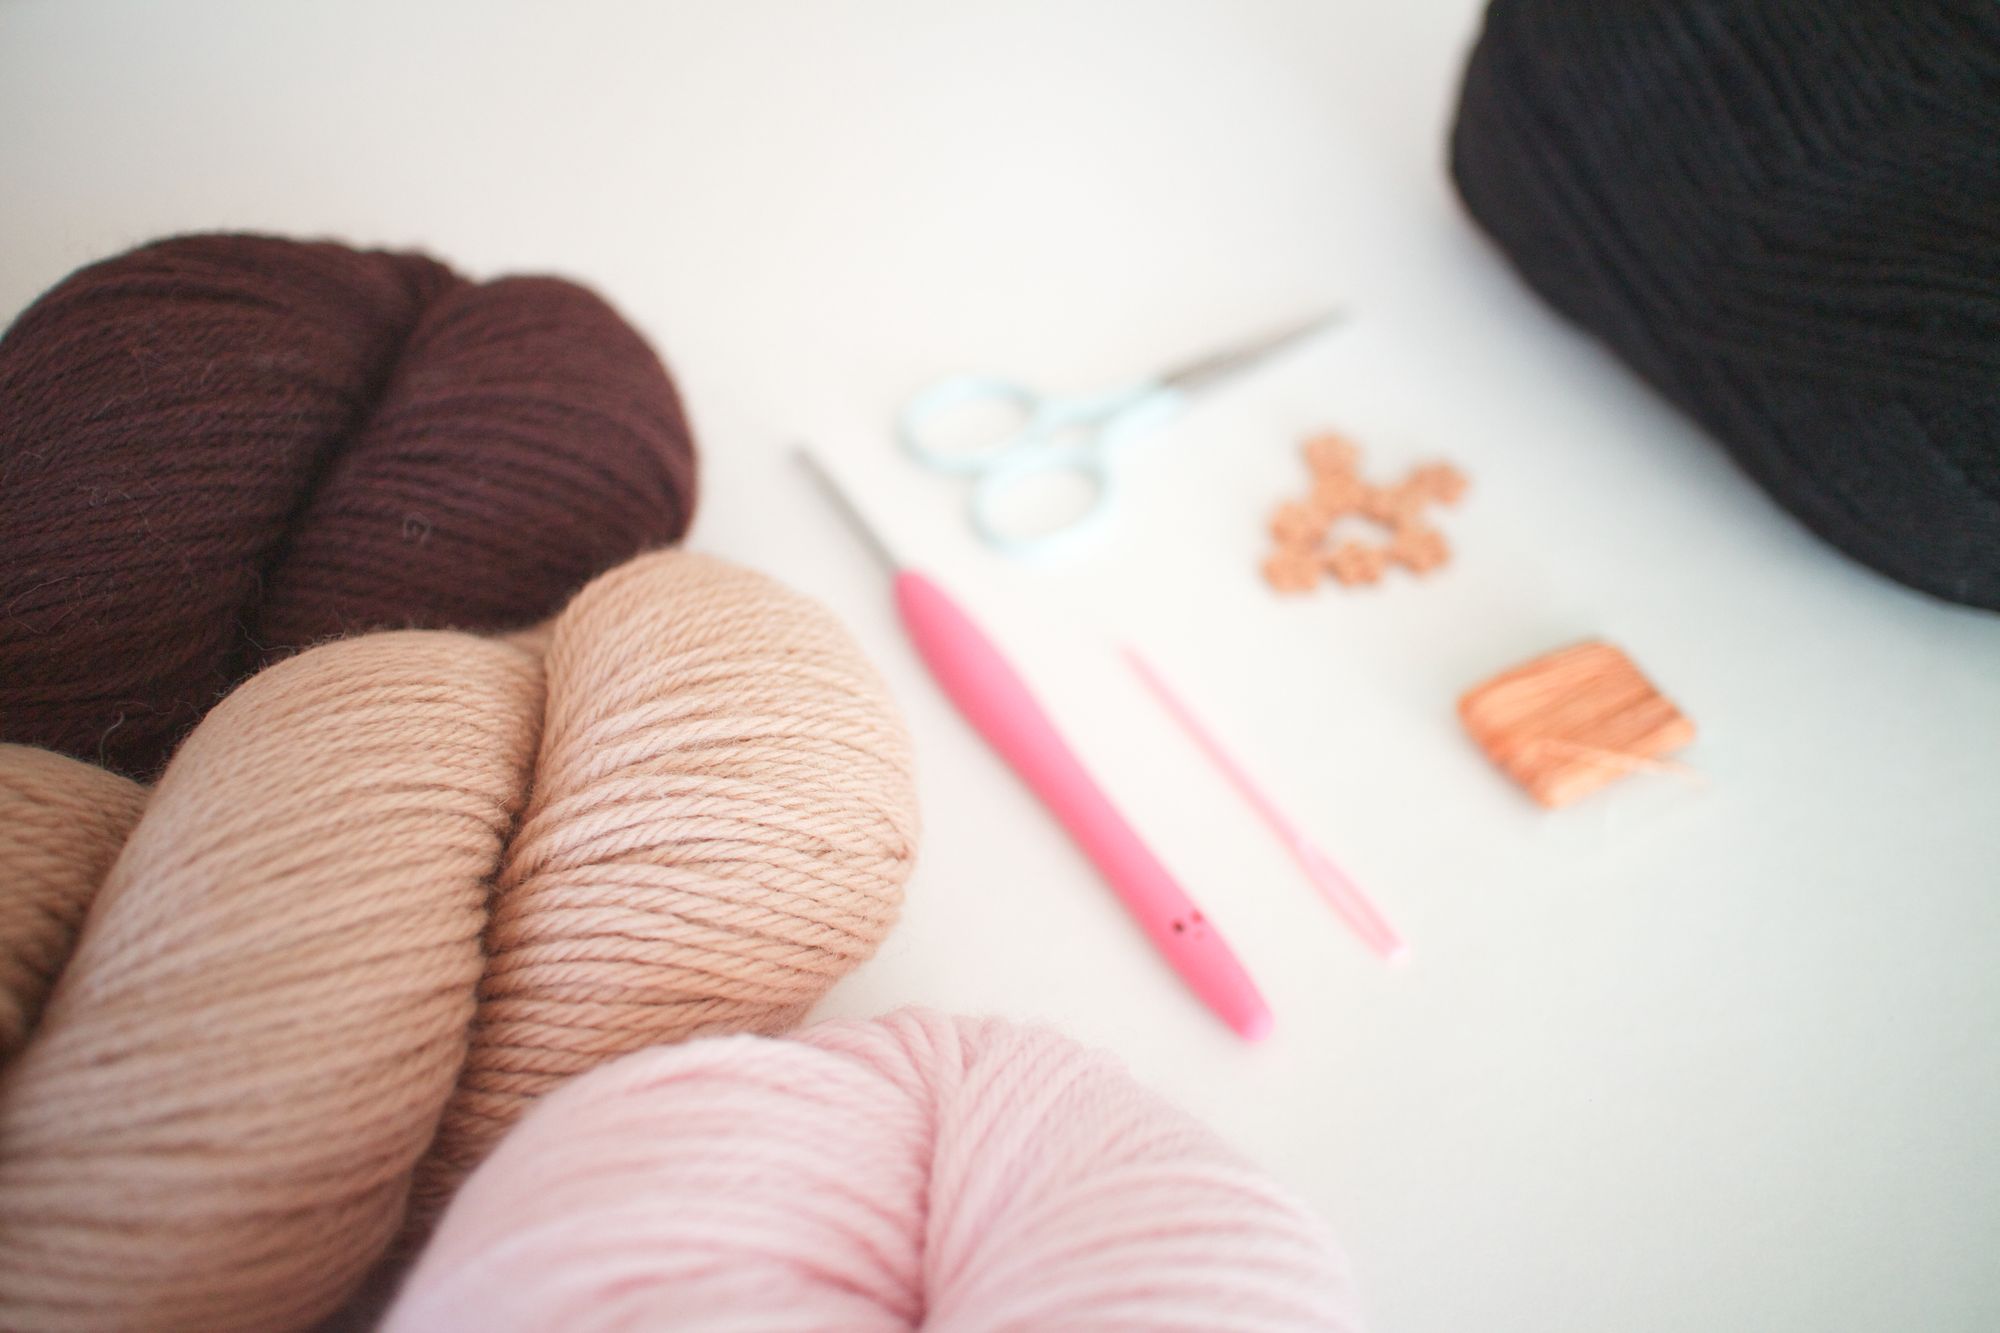
You will need:
• Medium (worsted) weight yarn in body colour - about 75 m (80 yds)
• Medium (worsted) weight yarn in hair colour - about 65 m (70 yds)
• Medium (worsted) weight yarn in dress colour - about 25 m (28 yds)
• Medium (worsted) weight yarn in black - about 2 m (2 yds)
• 3.5 mm (E) crochet hook
• Toy stuffing
• Yarn needle
• Cute beads or buttons and matching thread (optional)
Abbreviations (US crochet terms):
R - round
st - stitch
sts - stitches
sl st - slip stitch
sc - single crochet
dc - double crochet
sc2tog - single crochet 2 together
Pattern
Arms (make 2):
Using body colour yarn, start with an adjustable ring.
R1: 5 sc in the ring.
R2: 2 sc in next st, sc in next 4 sts. (6 sts)
R3-6: sc in each st around, for 4 rounds. (6 sts per round)
R7: Pinch the hole closed. Make 3 sc across the opening, working through 2 sts at a time to close the hole. (3 sts)
Cut yarn and finish off.
Leg 1:
Using body colour yarn, start with an adjustable ring.
R1: 5 sc in the ring.
R2: 2 sc in next st, sc in next 4 sts. (6 sts)
R3: (2 sc in next st, sc in next 2 sts) twice. (8 sts)
R4: 2 sc in next st, sc in next 2 sts, 2 sc in next st, sl st in next st. (This is only half a round. You will complete the other half later.)
Cut yarn and finish off.
Leg 2 and body:
Using body colour yarn, start with an adjustable ring.
R1: 5 sc in the ring.(5 sts)
R2: 2 sc in next st, sc in next 4 sts. (6 sts)
R3: (2 sc in next st, sc in next 2 sts) twice.(8 sts)
R4: 2 sc in next st, sc in next 2 sts, 2 sc in next st, sc in next 3 sts, 2 sc in next st. (11 sts)
Ch 1, then continue on leg 1.
2 sc in same space as sl st, sc in next 3 sts.
R5: 2 sc in next st, sc in next 5 sts of leg 1, sc in one side of the ch 1 from round 4, sc in next 5 sts of leg 2, 2 sc in next st, sc in next 5 sts, sc into the other side of the ch 1 from round 4, sc in next 5 sts of leg 1.(26 sts)
R6: (2 sc in next st, sc in next 6 sts) twice.(2 sc in next st, sc in next 5 sts) twice. (30 sts)
R7-8: sc in each st around, for 2 rounds.(30 sc per round)
Add a little bit of stuffing inside the legs.
R9: sc in next st, sc2tog, sc in next 13 sts, sc2tog, sc in next 12 sts. (28 sts)
R10: sc in each st around. (28 sts)
R11: sc in next st, sc2tog, sc in next 12 sts, sc2tog, sc in next 11 sts. (26 sts)
R12: sc in each st around. (26 sts)
R13: sc in next st, sc2tog, sc in next 11 sts, sc2tog, sc in next 10 sts. (24 sts)
R14: sc in next st, (sc2tog, sc in next 4 sts) 3 times, sc2tog, sc in next 3 sts. (20 sts)
R15: Hold one arm against the doll’s body. Working through both the arm and the body, sc in each of the next 3 sts. Sc in next 7 sts of the body. Hold the second arm in place against the body. Working through both the arm and the body, sc in each of the next 3 sts. Sc in next 7 sts of the body. (20 sts)
R16: (sc2tog, sc in next 8 sts) twice. (18 sts)
Cut yarn, leaving a long tail for sewing, and finish off. Add more stuffing to the doll’s body.
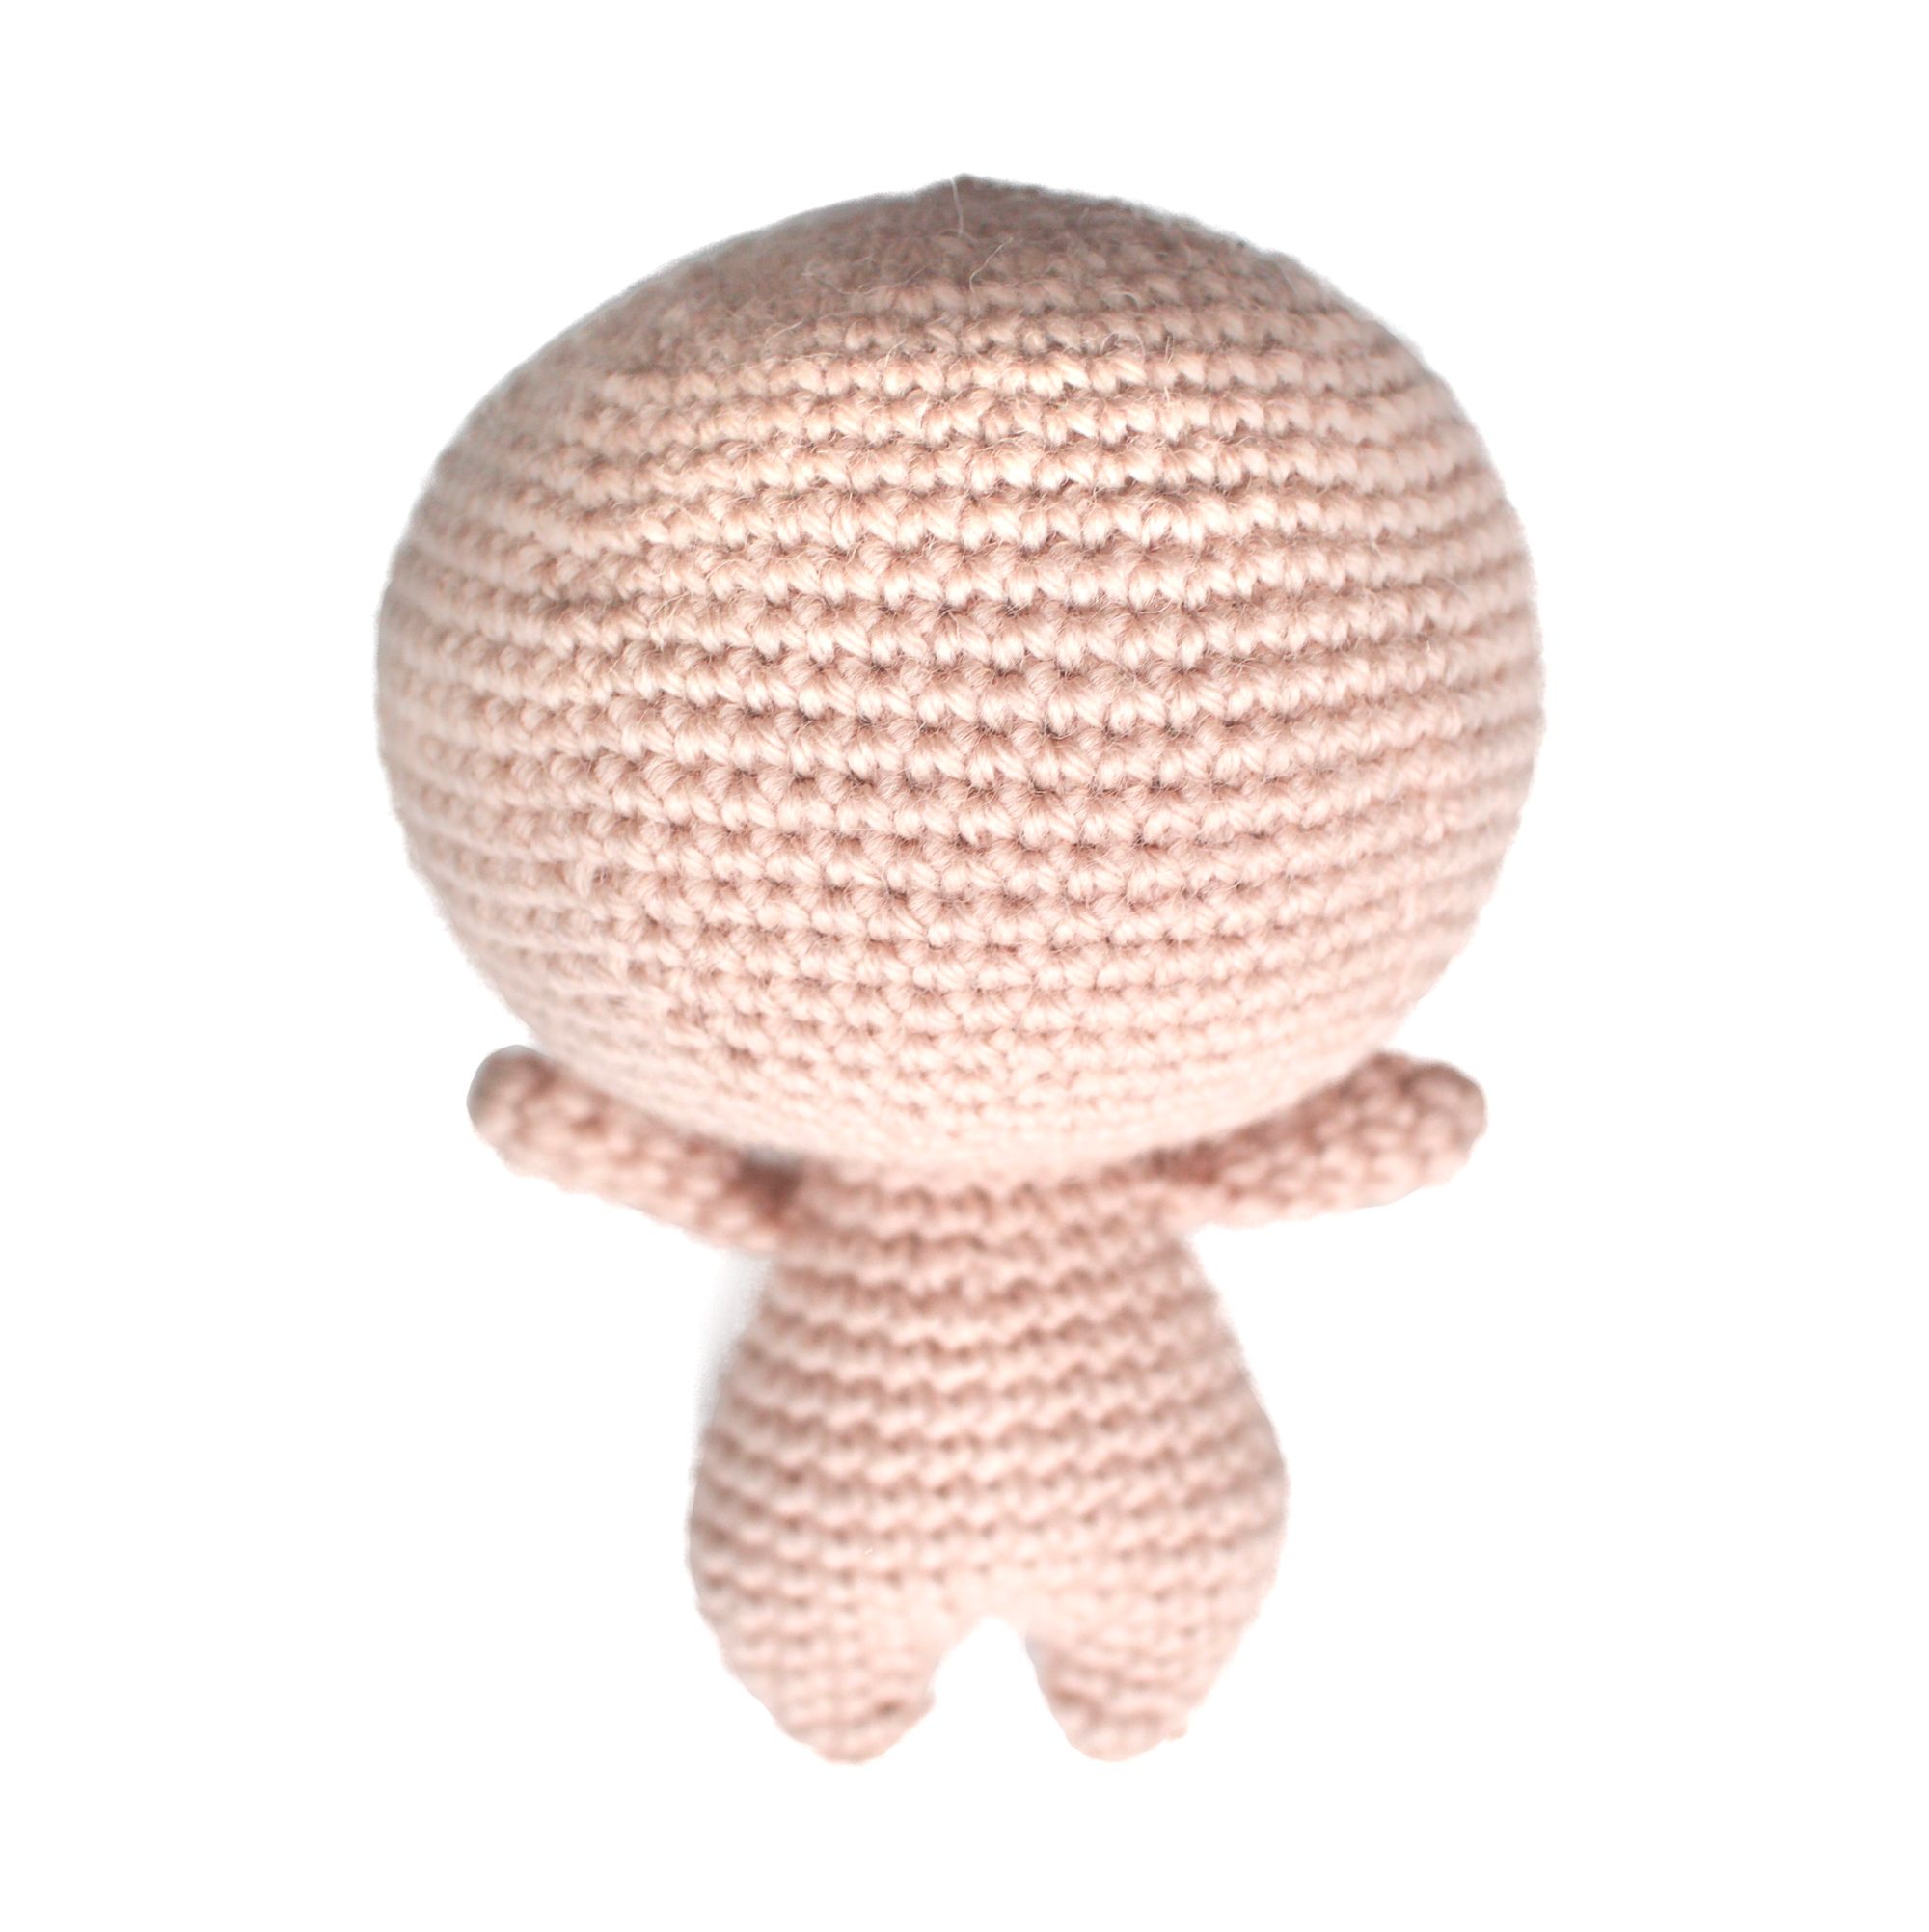
Head:
The head is worked from the top down in the round, without joining rounds.
Using body colour yarn, start with an adjustable ring.
R1: 6 sc in a ring.
R2: 2 sc in each st around. (12 sts)
R3: (sc in next st, 2 sc in next st) 6 times. (18 sts)
R4: (sc in next st, 2 sc in next st, sc in next st) 6 times. (24 sts)
R5: (sc in next 3 sts, 2 sc in next st) 6 times. (30 sts)
R6: (sc in next 2 sts, 2 sc in next st, sc in next 2 sts) 6 times. (36 sts)
R7: (sc in next 5 sts, 2 sc in next st) 6 times. (42 sts)
R8: (sc in next 3 sts, 2 sc in next st, sc in next 3 sts) 6 times. (48 sts)
R9: (sc in next 11 sts, 2 sc in next st) 4 times. (52 sts)
R10: (sc in next 6 sts, 2 sc in next st, sc in next 6 sts) 4 times. (56 sts)
R11: (sc in next 13 sts, 2 sc in next st) 4 times. (60 sts)
R12: (sc in next 29 sts, 2 sc in next st) twice. (62 sts)
R13: (sc in next 15 sts, 2 sc in next st, sc in next 15 sts) twice. (64 sts)
R14: (sc in next 31 sts, 2 sc in next st) twice. (66 sts)
R15: (sc in next 16 sts, 2 sc in next st, sc in next 16 sts) twice. (68 sts)
R16-18: sc in each st around, for 3 rounds. (68 sts per round)
R19: (sc in next 16 sts, sc2tog, sc in next 16 sts) twice. (66 sts)
R20: (sc2tog, sc in next 31 sts) twice. (64 sts)
R21: (sc in next 15 sts, sc2tog, sc in next 15 sts) twice. (62 sts)
R22: (sc2tog, sc in next 29 sts) twice. (60 sts)
R23: (sc2tog, sc in next 13 sts) 4 times. (56 sts)
R24: (sc in next 6 sts, sc2tog, sc in next 6 sts) 4 times. (52 sts)
R25: (sc2tog, sc in next 11 sts) 4 times. (48 sts)
R26: (sc in next 3 sts, sc2tog, sc in next 3 sts) 6 times. (42 sc)
R27: (sc2tog, sc in next 5 sts) 6 times. (36 sts)
R28: (sc in next 2 sts, sc2tog, sc in next 2 sts) 6 times. (30 sts)
R29: (sc2tog, sc in next 3 sts) 6 times. (24 sts)
R30: (sc in next st, sc2tog, sc in next st) 6 times. (18 sts)
Cut yarn and finish off. Stuff the head until it is nice and puffy.
Hair:
Using hair colour yarn, start with an adjustable ring.
R1: 6 sc in a ring.
R2: 2 sc in each st around. (12 sts)
R3: (sc in next st, 2 sc in next st) 6 times. (18 sts)
R4: (sc in next st, 2 sc in next st, sc in next st) 6 times. (24 sts)
R5: (sc in next 3 sts, 2 sc in next st) 6 times. (30 sts)
R6: (sc in next 2 sts, 2 sc in next st, sc in next 2 sts) 6 times. (36 sts)
R7: (sc in next 5 sts, 2 sc in next st) 6 times. (42 sts)
R8: (sc in next 3 sts, 2 sc in next st, sc in next 3 sts) 6 times. (48 sts)
R9: (sc in next 11 sts, 2 sc in next st) 4 times. (52 sts)
R10: (sc in next 6 sts, 2 sc in next st, sc in next 6 sts) 4 times. (56 sts)
R11: (sc in next 13 sts, 2 sc in next st) 4 times. (60 sts)
R12: (sc in next 29 sts, 2 sc in next st) twice. (62 sts)
R13: (sc in next 15 sts, 2 sc in next st, sc in next 15 sts) twice. (64 sts)
R14: (sc in next 31 sts, 2 sc in next st) twice. (66 sts)
R15: (sc in next 16 sts, 2 sc in next st, sc in next 16 sts) twice. (68 sts)
R16: (sc in next 33 sts, 2 sc in next st) twice. (70 sts)
R17-20: sc in each st around, for 4 rounds. (70 sts per round)
R21: (sc2tog, sc in next 33 sts) twice. (68 sts)
R22-24: sc in each st around, for 3 rounds. (68 sts per round)
Cut yarn, leaving a long tail for sewing, and join round with an invisible join.
Hair buns (make 2):
Using hair colour yarn, start with an adjustable ring.
R1: 6 sc in a ring.
R2: 2 sc in each st around. (12 sts)
R3: (sc in next st, 2 sc in next st) 6 times. (18 sts)
R4: (sc in next st, 2 sc in next st, sc in next st) 6 times. (24 sts)
R5-6: sc in each st around, for 2 rounds. (24 sts per round)
R7: (sc2tog, sc in next 4 sts) 4 times. (20 sts)
Cut yarn, leaving a long tail for sewing, and finish off.
Dress:
Using dress colour yarn, ch 36. Sl st in the first chain to form a ring, being careful not to twist the chain.
R1: ch 3 (counts as first dc), dc in next 35 sts.
R2 (armhole round): Join round with a sl st in the top of the ch 3. Ch 4, skip next 4 dc, sc in next 14 sts, ch 4, skip next 4 dc, sc in next 13 sts.
R3: sc in the sl st and each of the next 4 chains, sc in next 14 sts, sc in next 4 chains, sc in next 13 sts. (36 sts)
R4: (sc in next 5 sts, 2 sc in next st) 6 times. (42 sts)
R5: (sc in next 3 sts, 2 sc in next st, sc in next 3 sts) 6 times. (48 sts)
R6: (sc in next 7 sts, 2 sc in next st)
6 times. (54 sts)
R7-9: sc in each st around, for 3 rounds. (54 sts per round)
R10: (sc in next 7 sts, sc2tog) 6 times. (48 sts)
R11: (sc2tog) 24 times. (24 sts)
Cut yarn and finish off. Join round with an invisible join. Sew in loose ends.
Drawstring:
Using dress colour yarn, ch 51.
R1: sl st in 2nd ch from hook. Sl st in each of the next 49 chains. (50 sts)
Cut yarn and finish off. Sew in loose ends.
Assembly:
1. Sew the open ends of the body and head together.
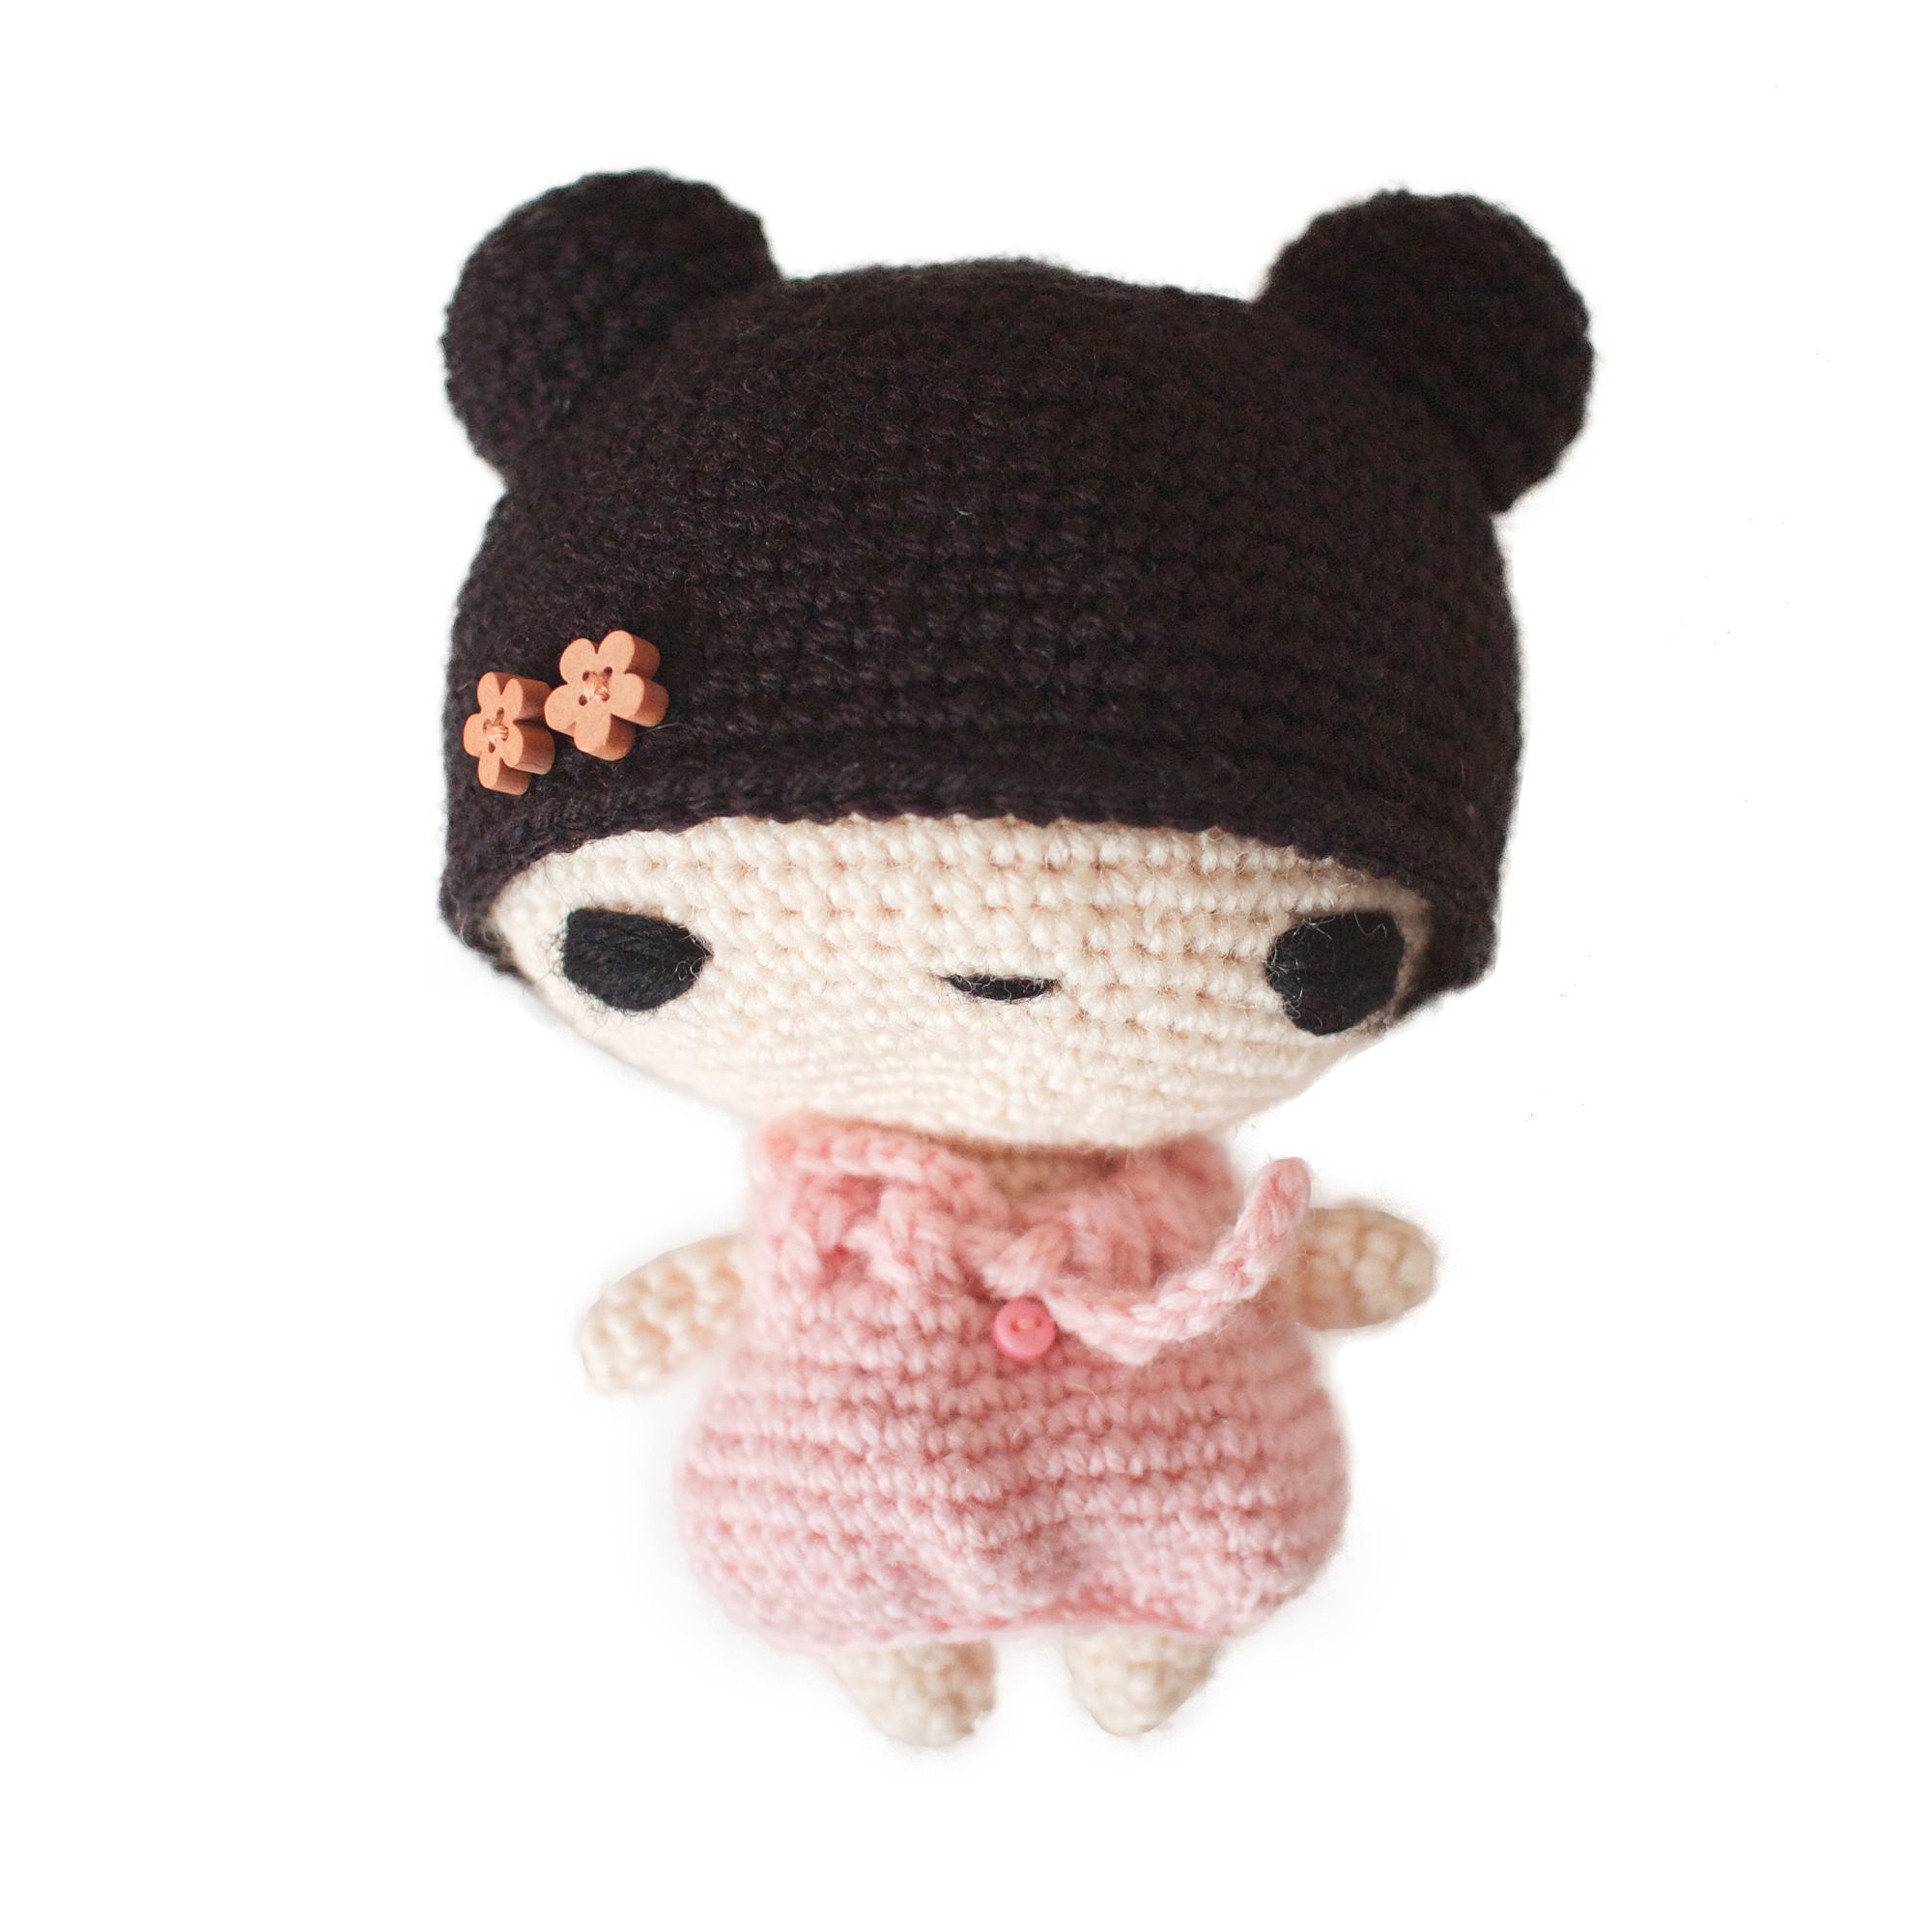
2. Using black yarn, embroider the eyes between rounds 21 and 22 of the head. The eyes should be 4 stitches wide and 12 stitches apart. Use about 10 stitches in the same spot to give the eyes some shape.You can also use safety eyes or buttons if you prefer.
3. Sew a mouth in the middle of the eyes, between rounds 22 and 23 of the head. The mouth should be 2 stitches wide.
4. Position the hair on top of the head and sew in place.
5. Pin the hair buns evenly on either side of the head, and sew in place, adding a little bit of stuffing before sewing each hole closed.
6. Thread the drawstring in and out through round 1 of the dress, so that the ends stick out in the middle of the front of the dress.
7. Place the dress on the doll, sticking the arms through the arm holes. Pull the drawstring closed and tie a small knot to hold it in place.
8. If you want, add some details by sewing little buttons or beads onto the head or dress.
Your little doll is now complete!
You can add this pattern to your queue and favorites on Ravelry. Or share photos of your creation on Instagram using #mohupattern. You'll even have a chance to be featured on our Instagram page!
Copyrights and selling your finished amigurumi:
This crochet pattern, amigurumi design, and all accompanying photos remain the copyright of Lauren Bergstrom of Móhu Store. You may not publish or distribute this pattern, or altered versions of the pattern (including variations, translations and videos), without permission.
You're welcome to sell physical items made from this pattern, as long as you credit Móhu as the designer. For online listings, add a note at the bottom of each listing saying ‘made from a Móhu pattern’ (or something similar). I also appreciate it if you include a link to the pattern, or to mohumohu.com. For selling in person, a small tag with the information on each amigurumi will do.
The amigurumi you sell must be made by an individual person (no production line or mass-production). You may not use my photos to sell your own work.