
Published in patterns on Oct 17, 2020
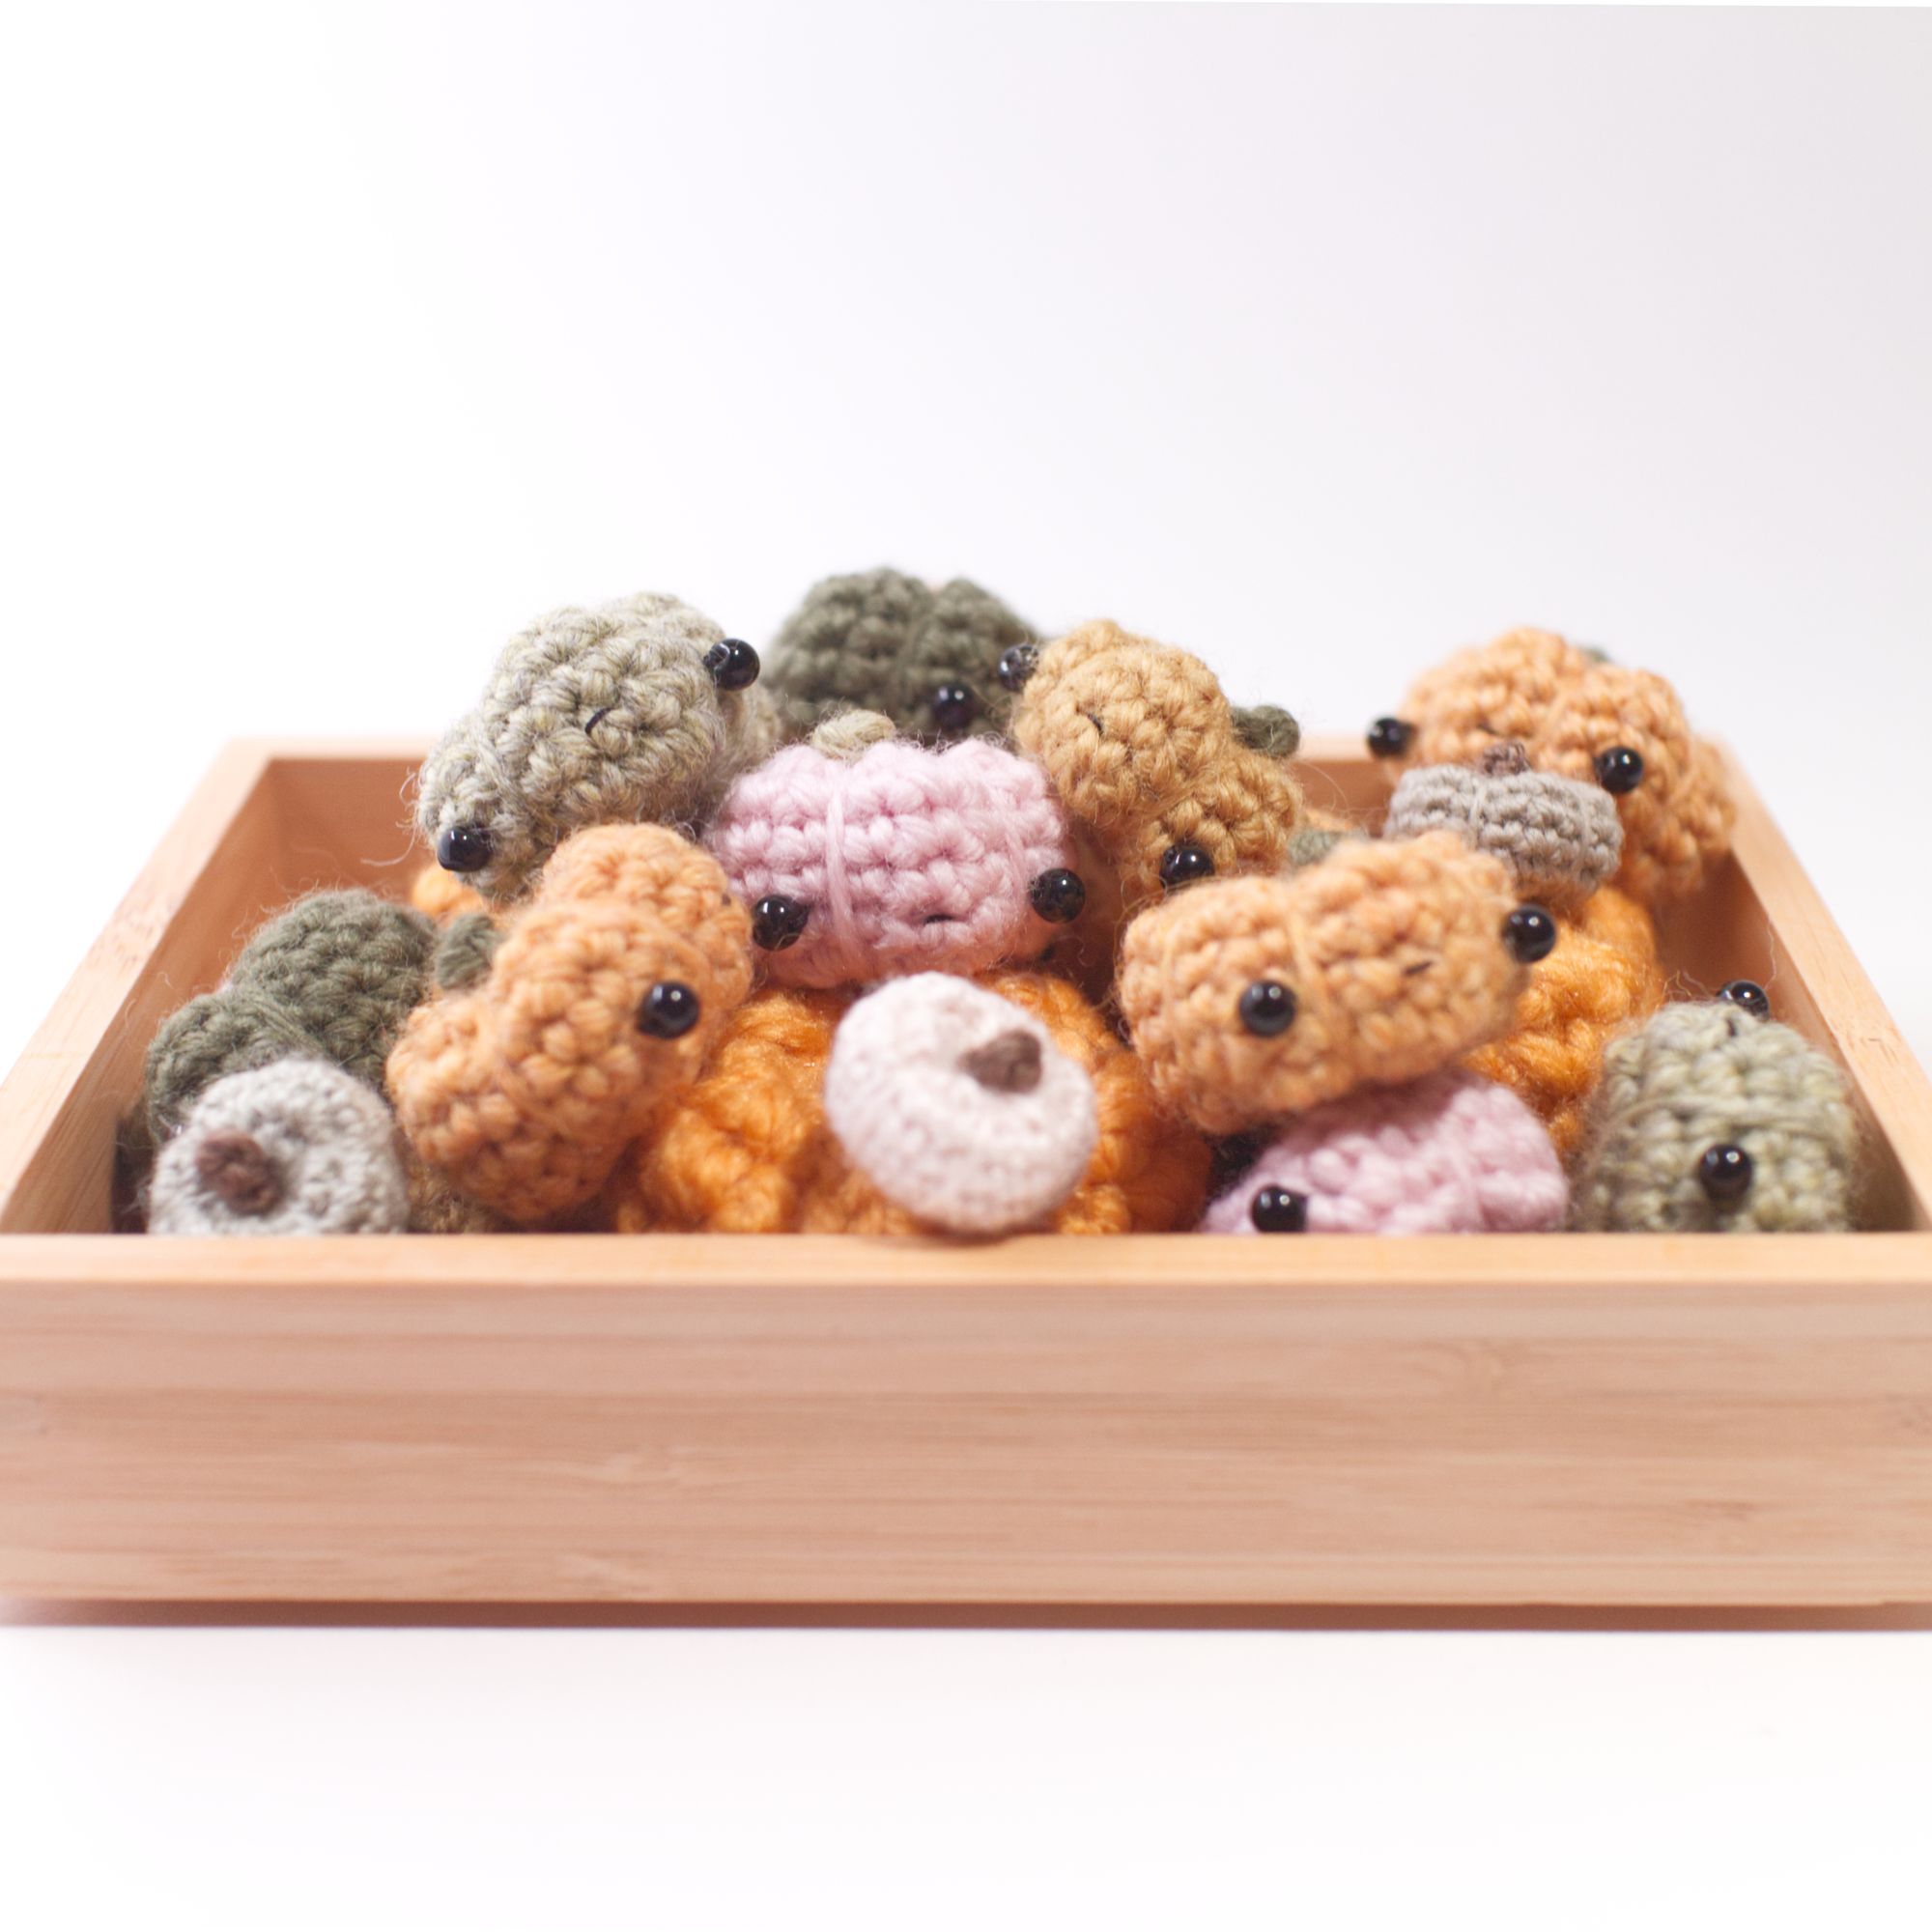
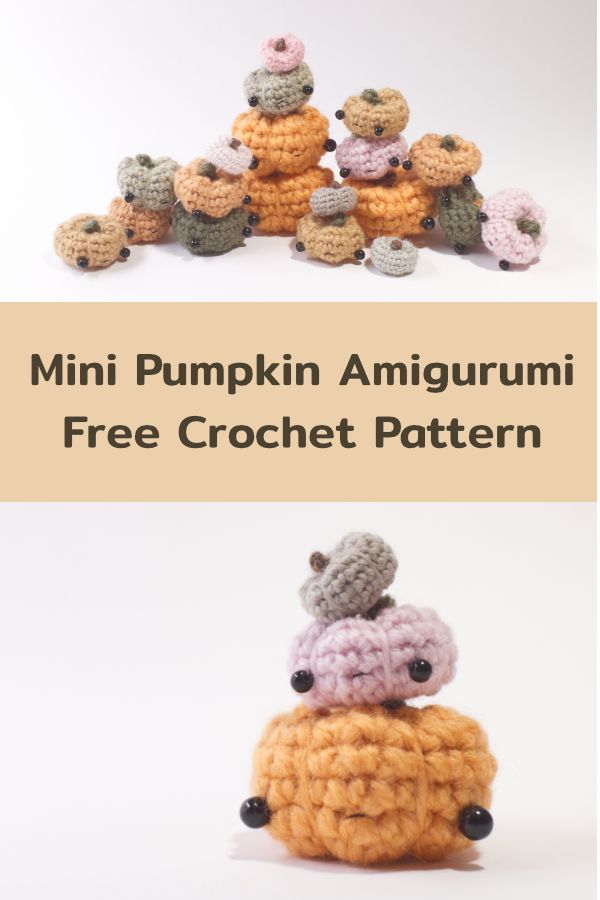
Look at these tiny pumpkins. Aren't they cute? It's so easy to end up with a big pile when each one takes less than half an hour to make.
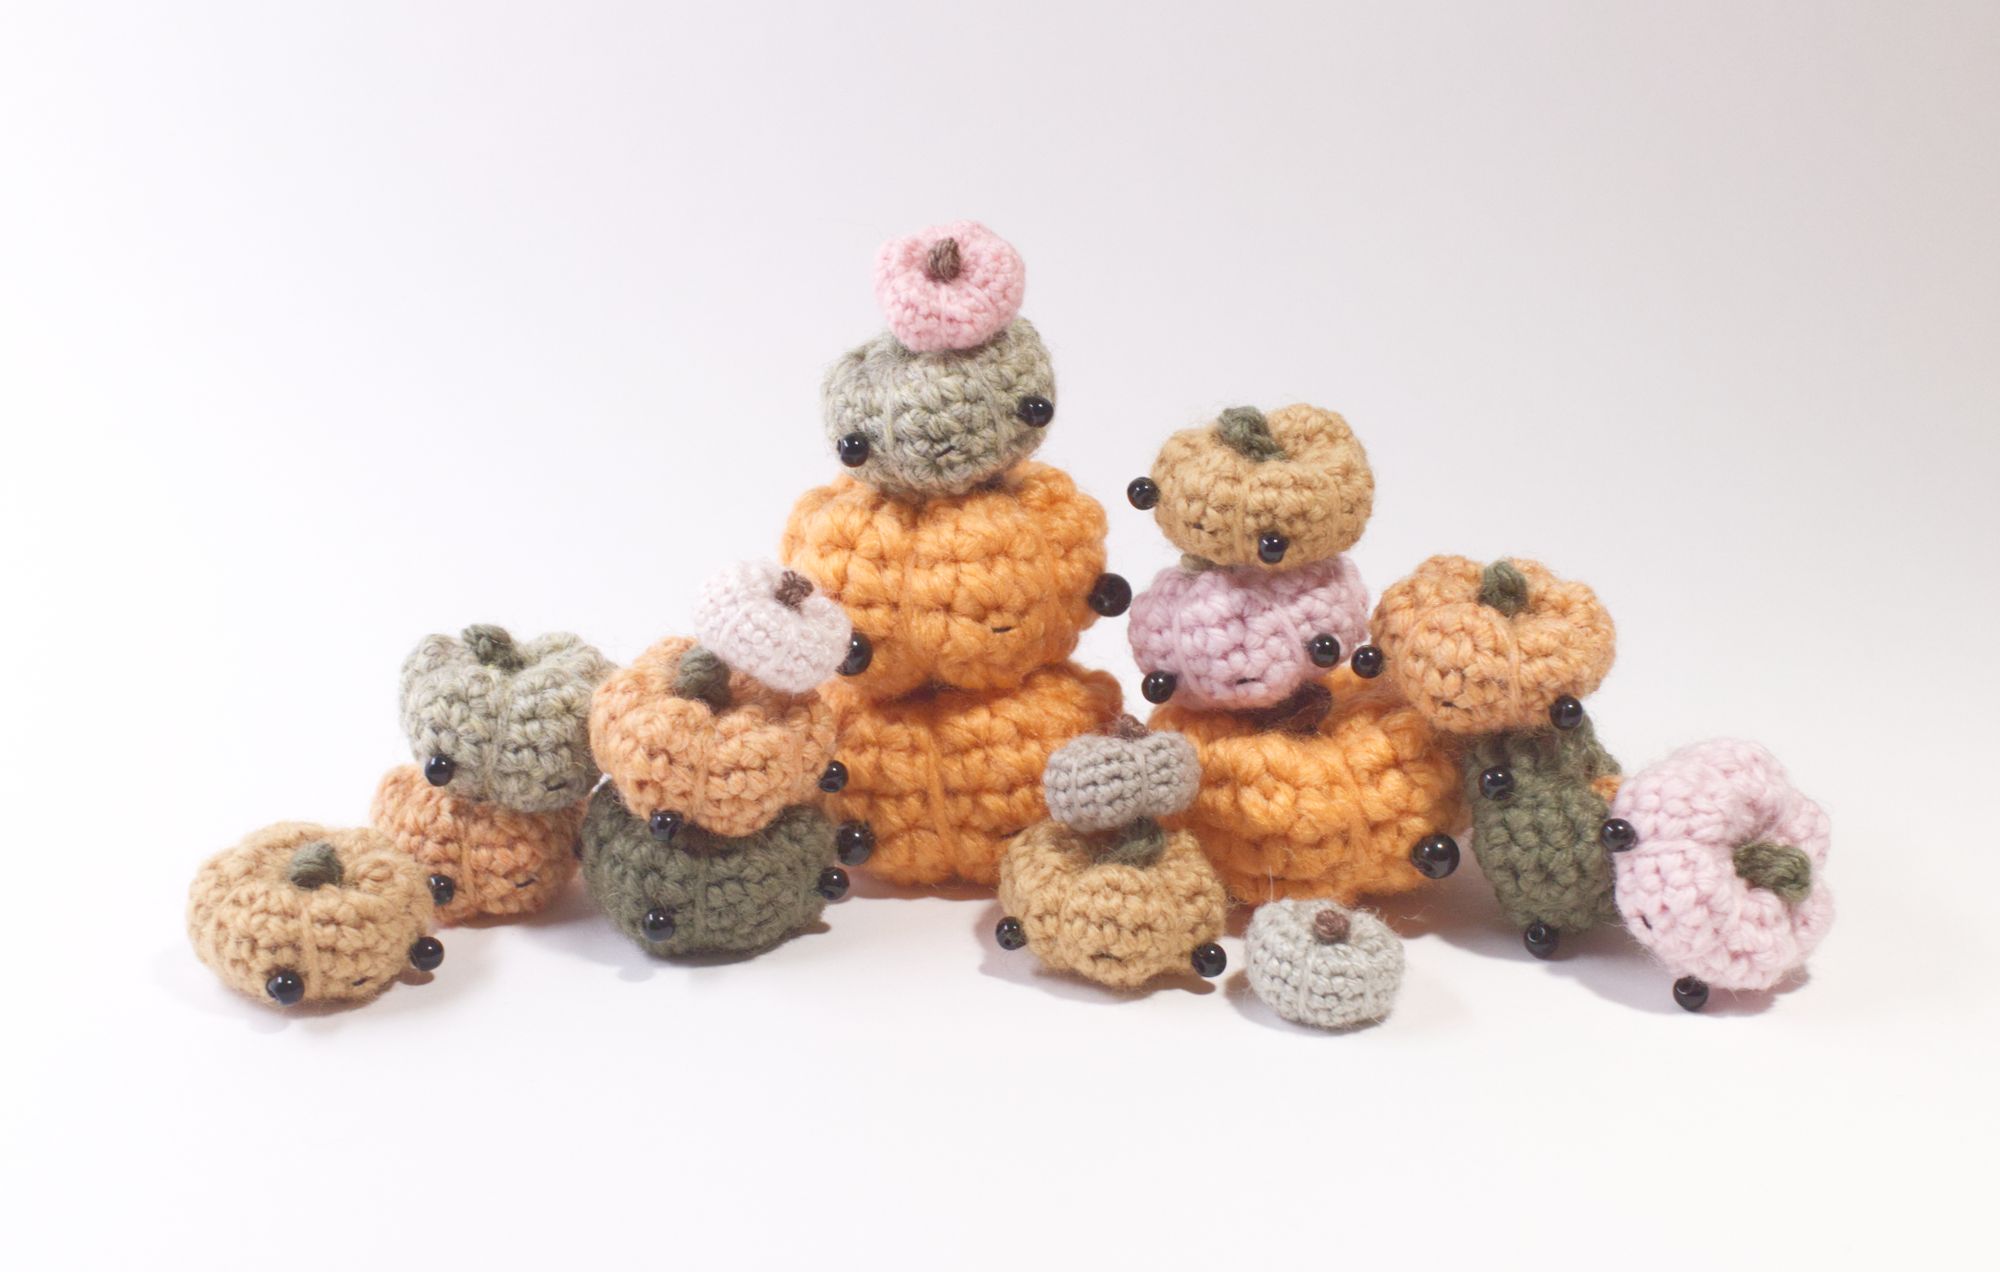
The crochet pattern for these mini amigurumi pumpkins is originally from my old blog in 2015, but here it is again with some updated photos and instructions (and little faces for extra cuteness). You can also find the video tutorial here: mini amigurummi pumpkin video tutorial.
Difficulty: easy
This pattern uses basic single crochet stitches in the round.
Size:
Using medium (worsted) weight yarn and a 3.5 mm (E) crochet hook, your pumpkin should be about 3.5 cm (1.3 in) wide. However, exact gauge isn't important for this project. I used fingering weight yarn with a 2.25 mm (B) crochet hook to make a 2 cm (0.8 in) pumpkin, and bulky weight yarn with a 5 mm (H) hook to make a 5 cm (2 in) pumpkin.

You will need:
• Medium (worsted) weight yarn in pumpkin colour - about 10 m (11 yds)
• Medium (worsted) weight yarn in stalk colour - about 1 m (1 yd)
• 4 mm round black beads for eyes
• Black thread for sewing
• Toy stuffing
• 3.5 mm (E) crochet hook
• Sewing needle
• Yarn needle
Abbreviations (US crochet terms):
R - round(s)
st - stitch
sts - stitches
ch - chain
sc - single crochet
sl st - slip stitch
Pattern
Body
Work in the round, without joining rounds.
With pumpkin colour yarn, start with a magic ring.
R1: 6 sc in a ring.
R2: 2 sc in each st around. (12 sts)
R3: (2 sc in next st, sc in next st) 6 times. (18 sts)
R4-7: Sc in each st around, for 4 rounds. (18 sts per round)
R8: (sc2tog, sc in next st) 6 times. (12 sts)
Stuff the body very lightly.
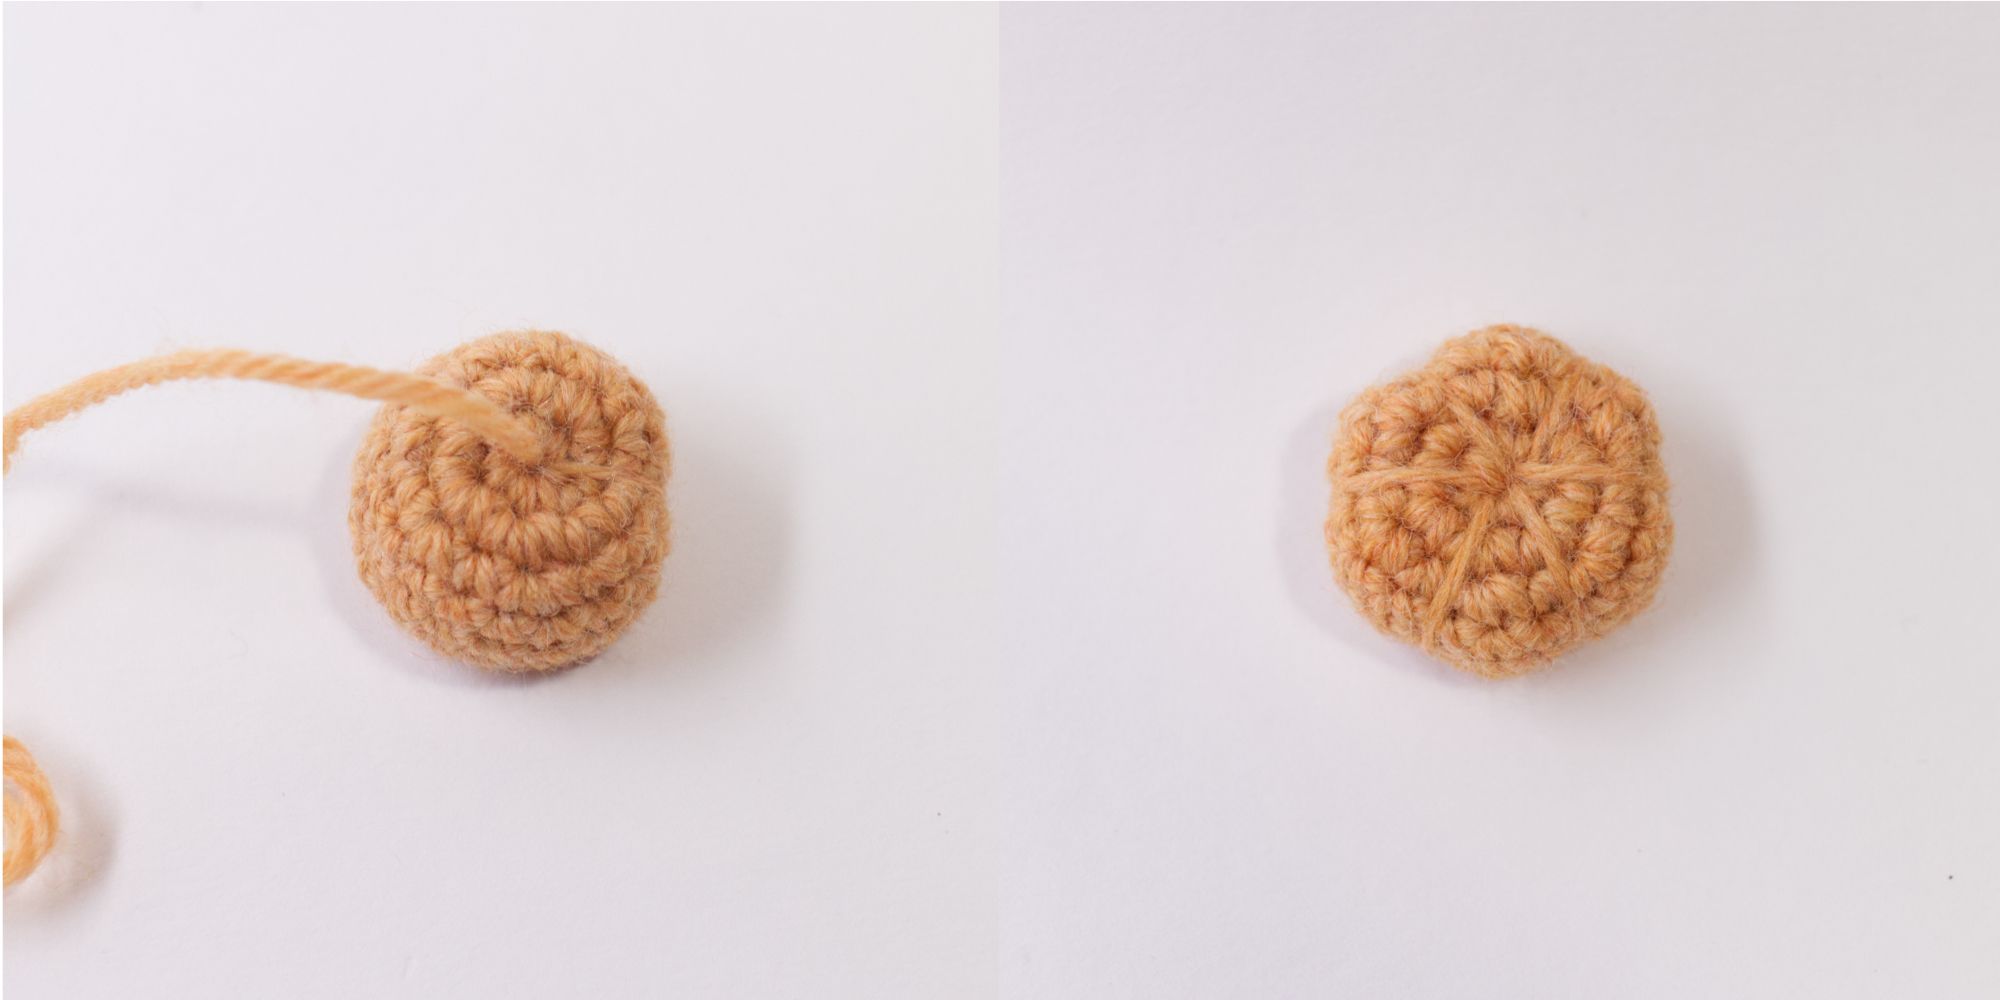
R9: (sc2tog) 6 times. (6 sts)
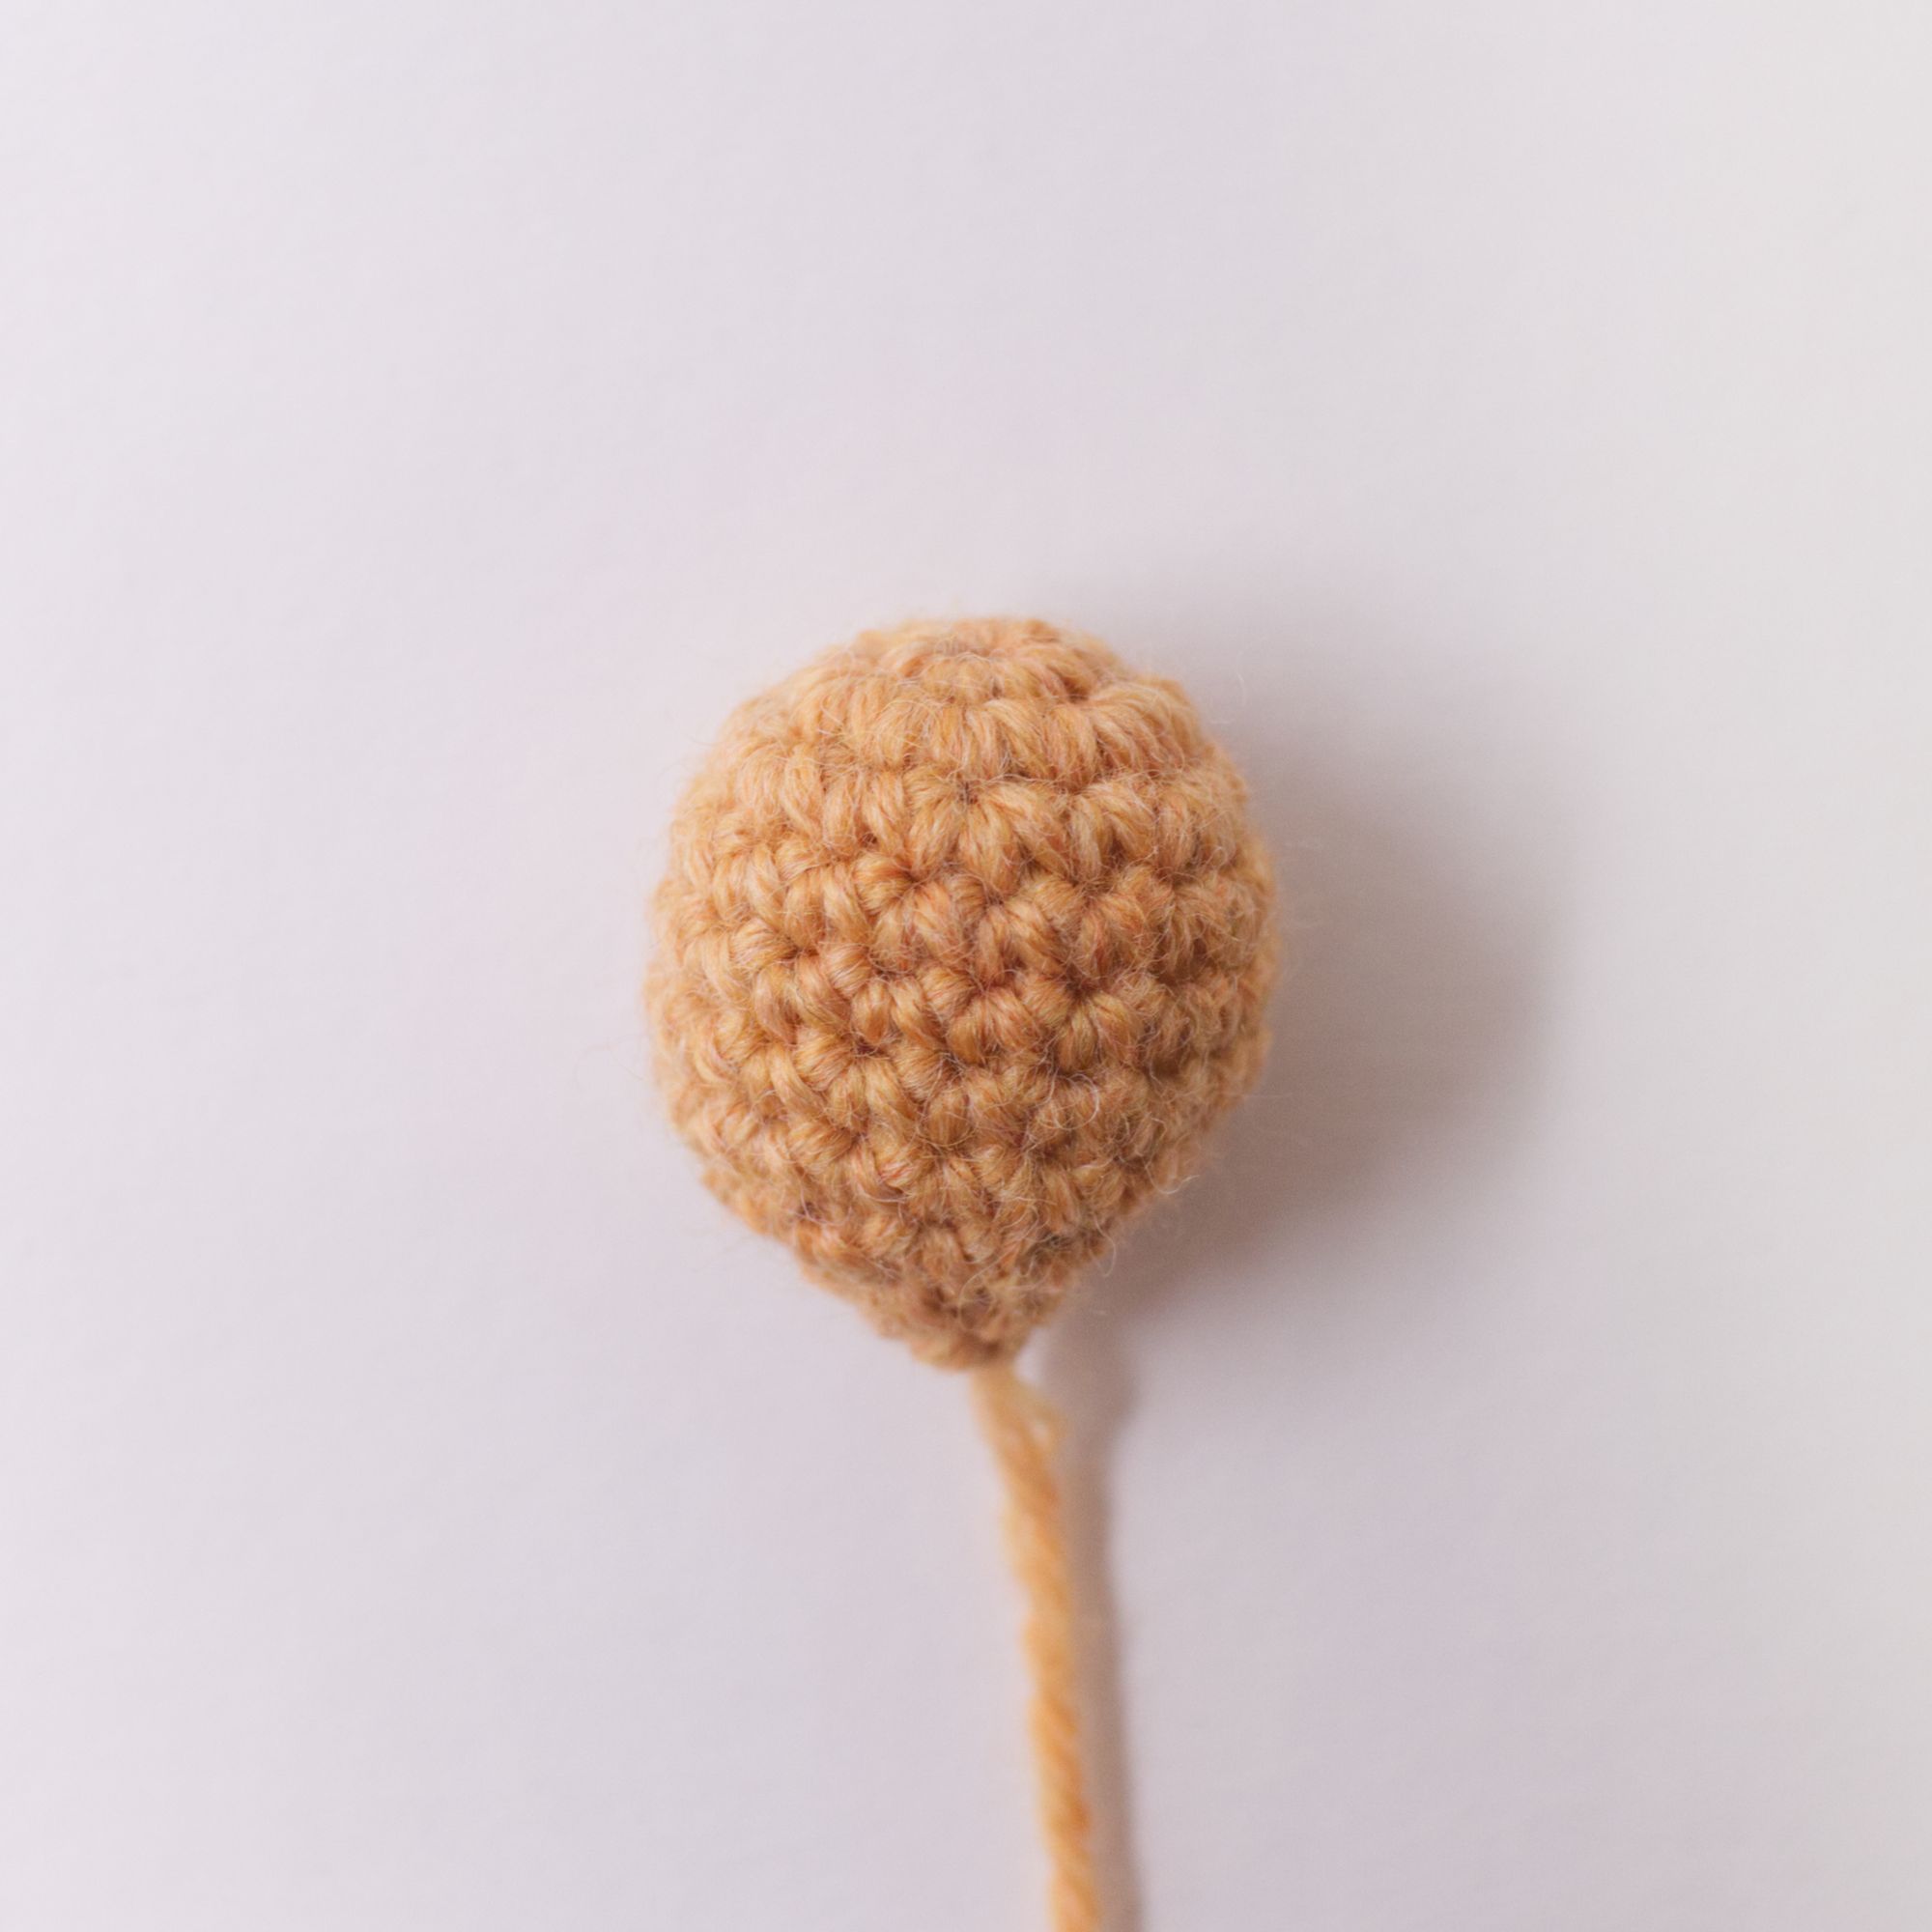
Cut the yarn, leaving a tail long enough to wrap around the pumpkin a few times, and finish off. Sew up the hole.
At this point, your pumpkin should look like a kamquat.
To make the pumpkin segments, use the yarn needle to pull the yarn end up through the centre of the pumpkin. Bring the yarn around the outside of the pumpkin, then up through the centre again, and pull tightly to make a segment shape. Do this 6 times, dividing your pumpkin into 6 segments.
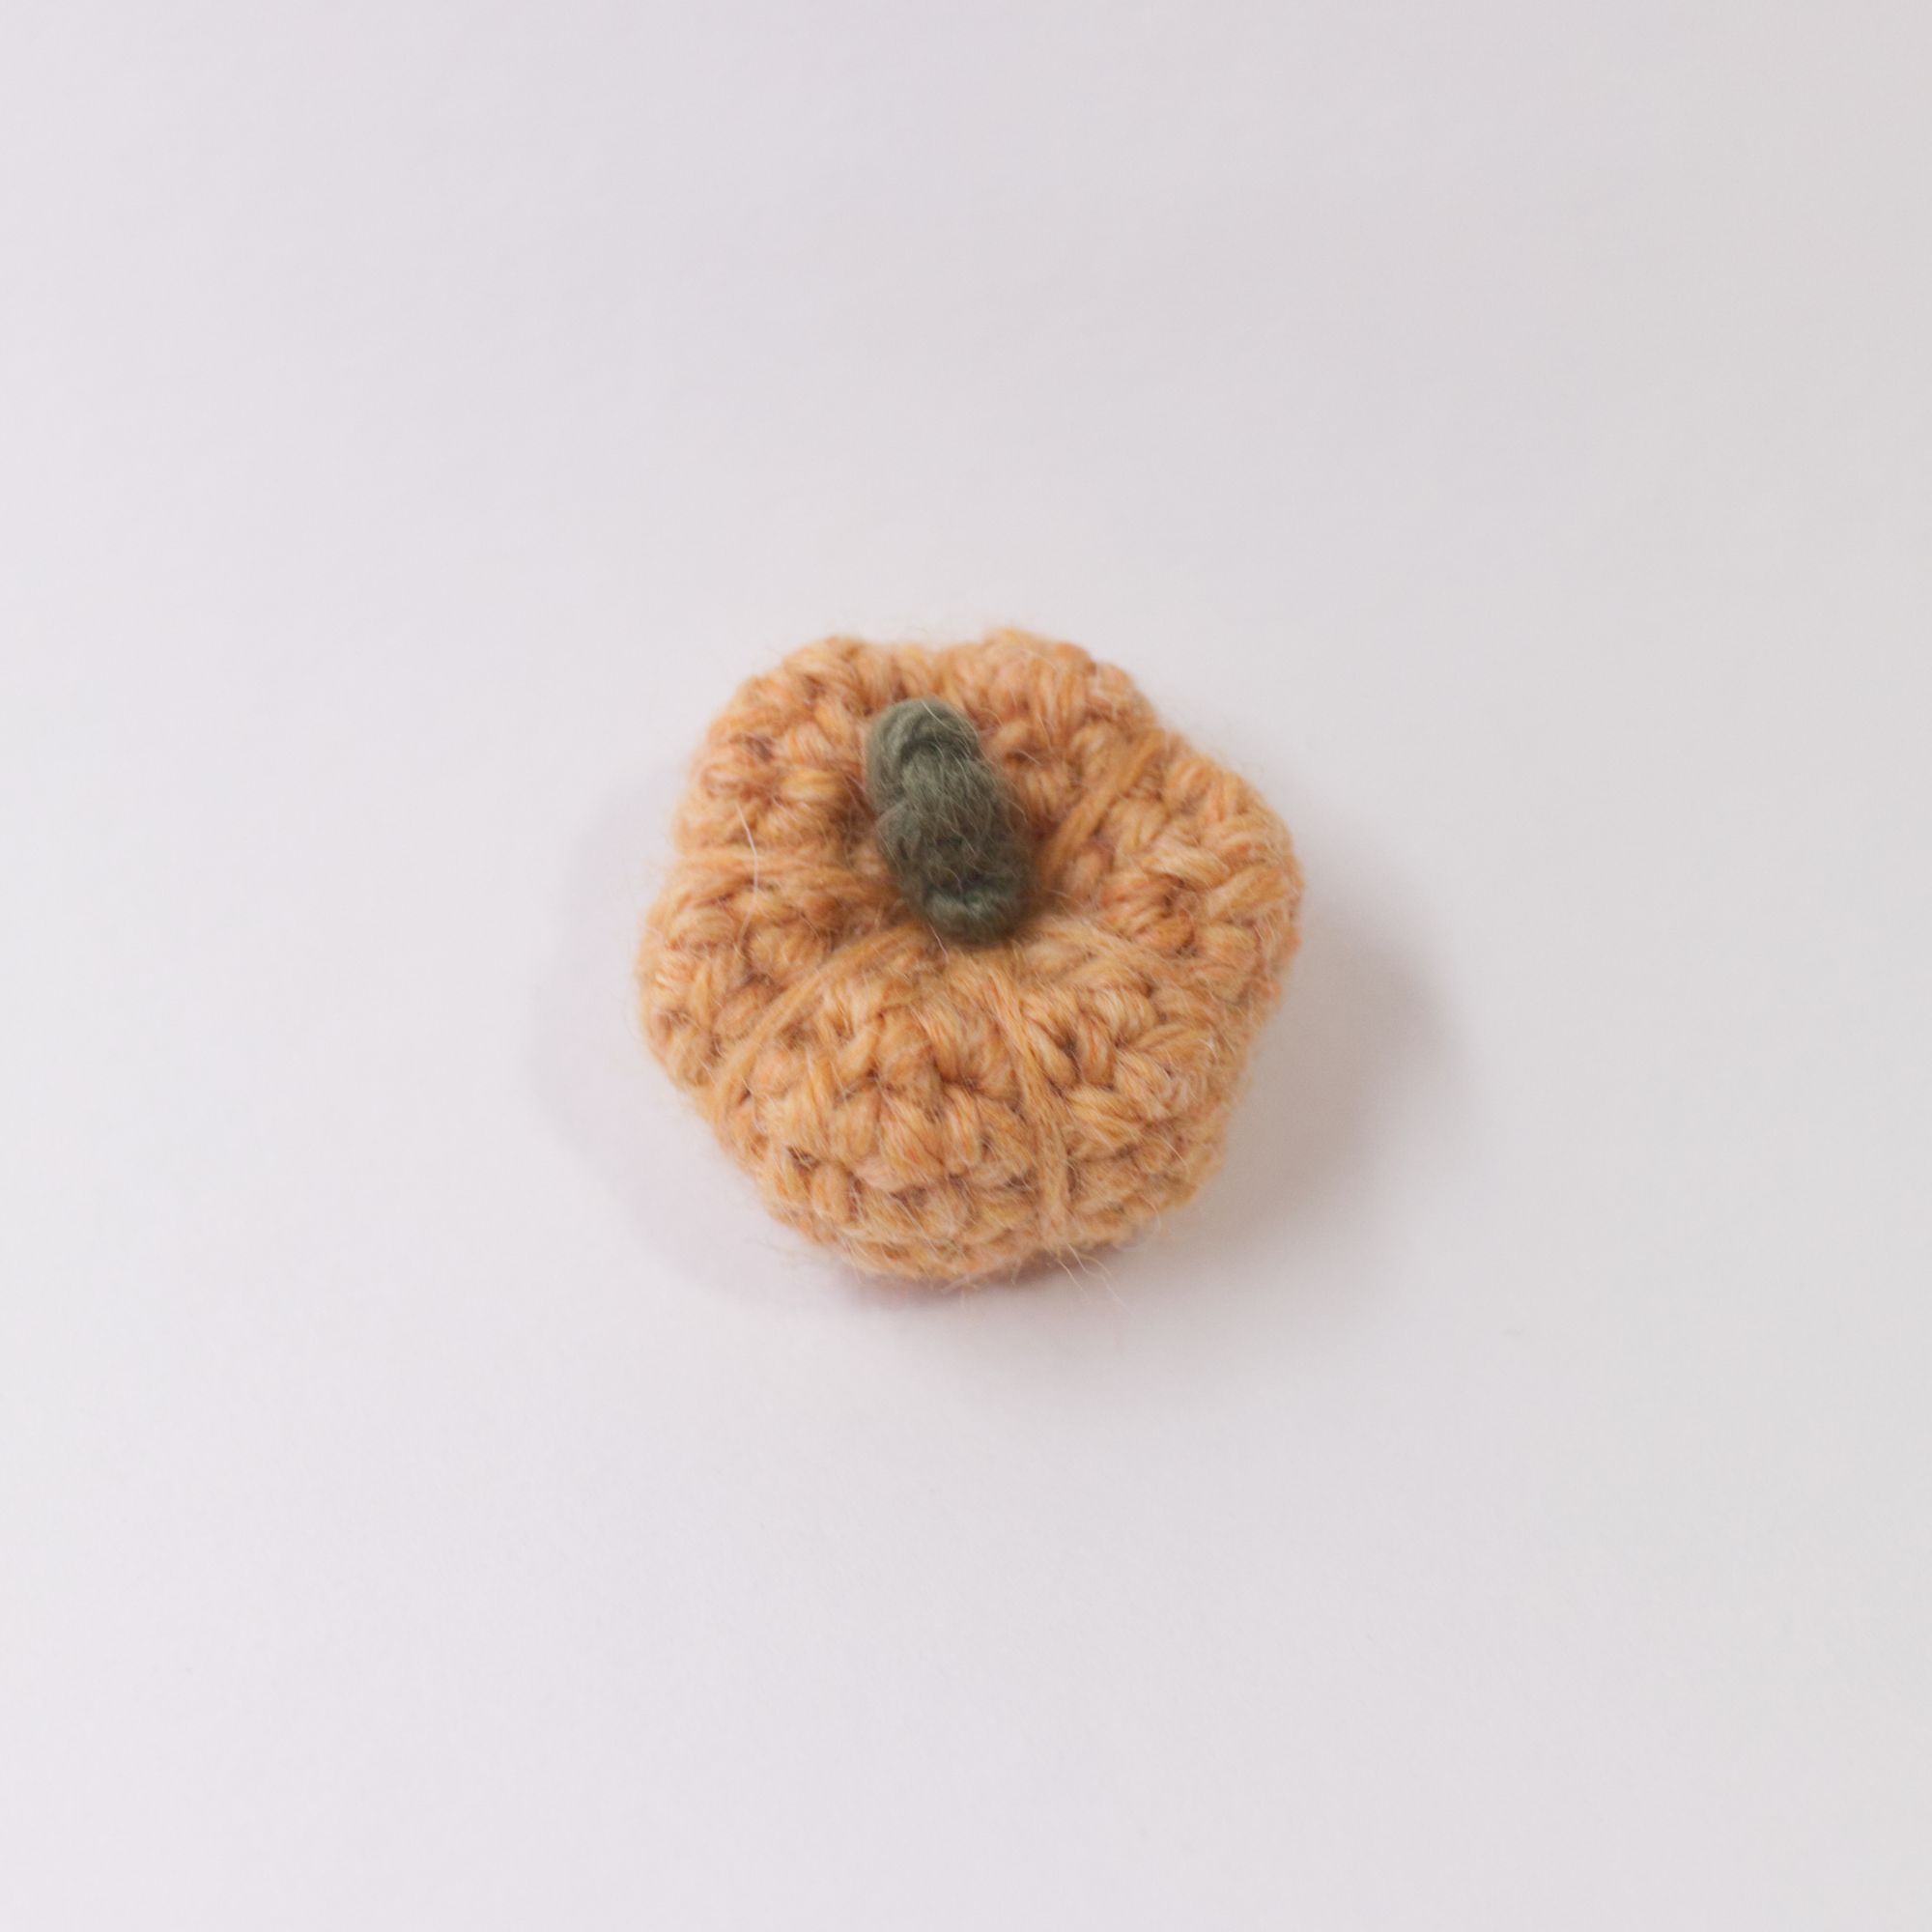
Stalk
Using stalk colour yarn, ch 3.
R1: Sl st in 2nd ch from hook, sl st in next ch.
Cut yarn, leaving a long tail for sewing, and finish off. Sew the stalk onto the top of your pumpkin.
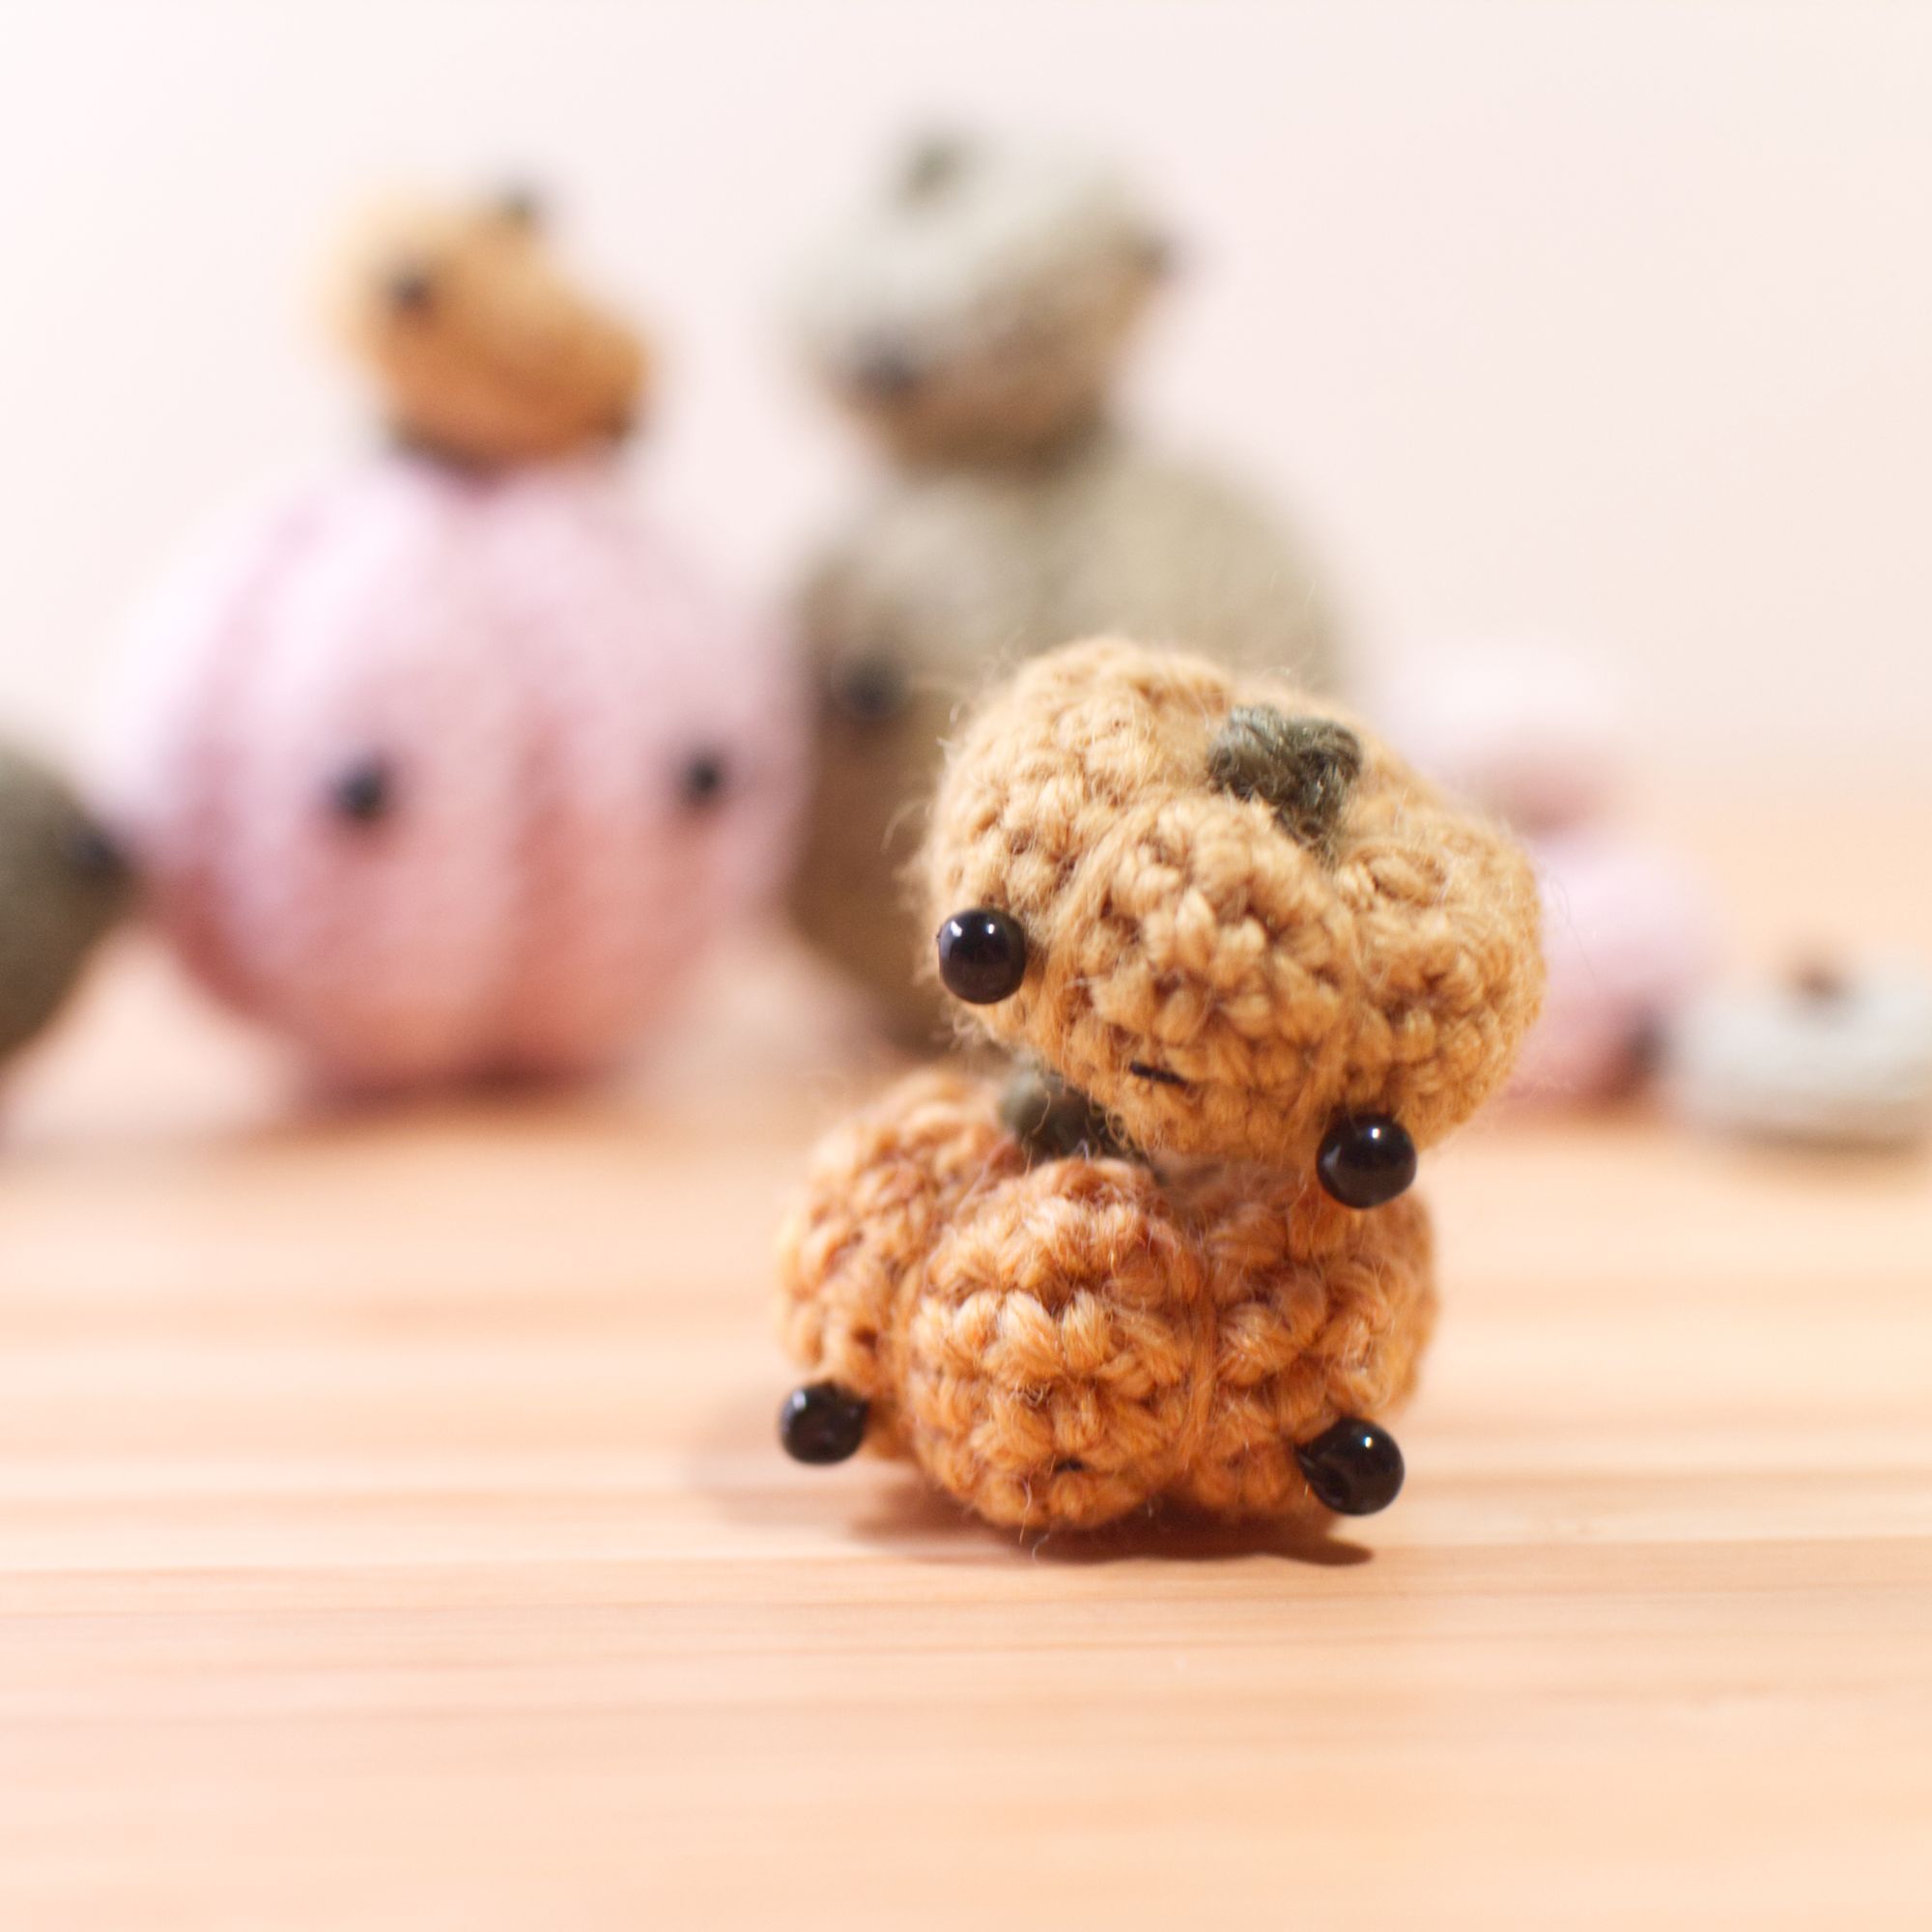
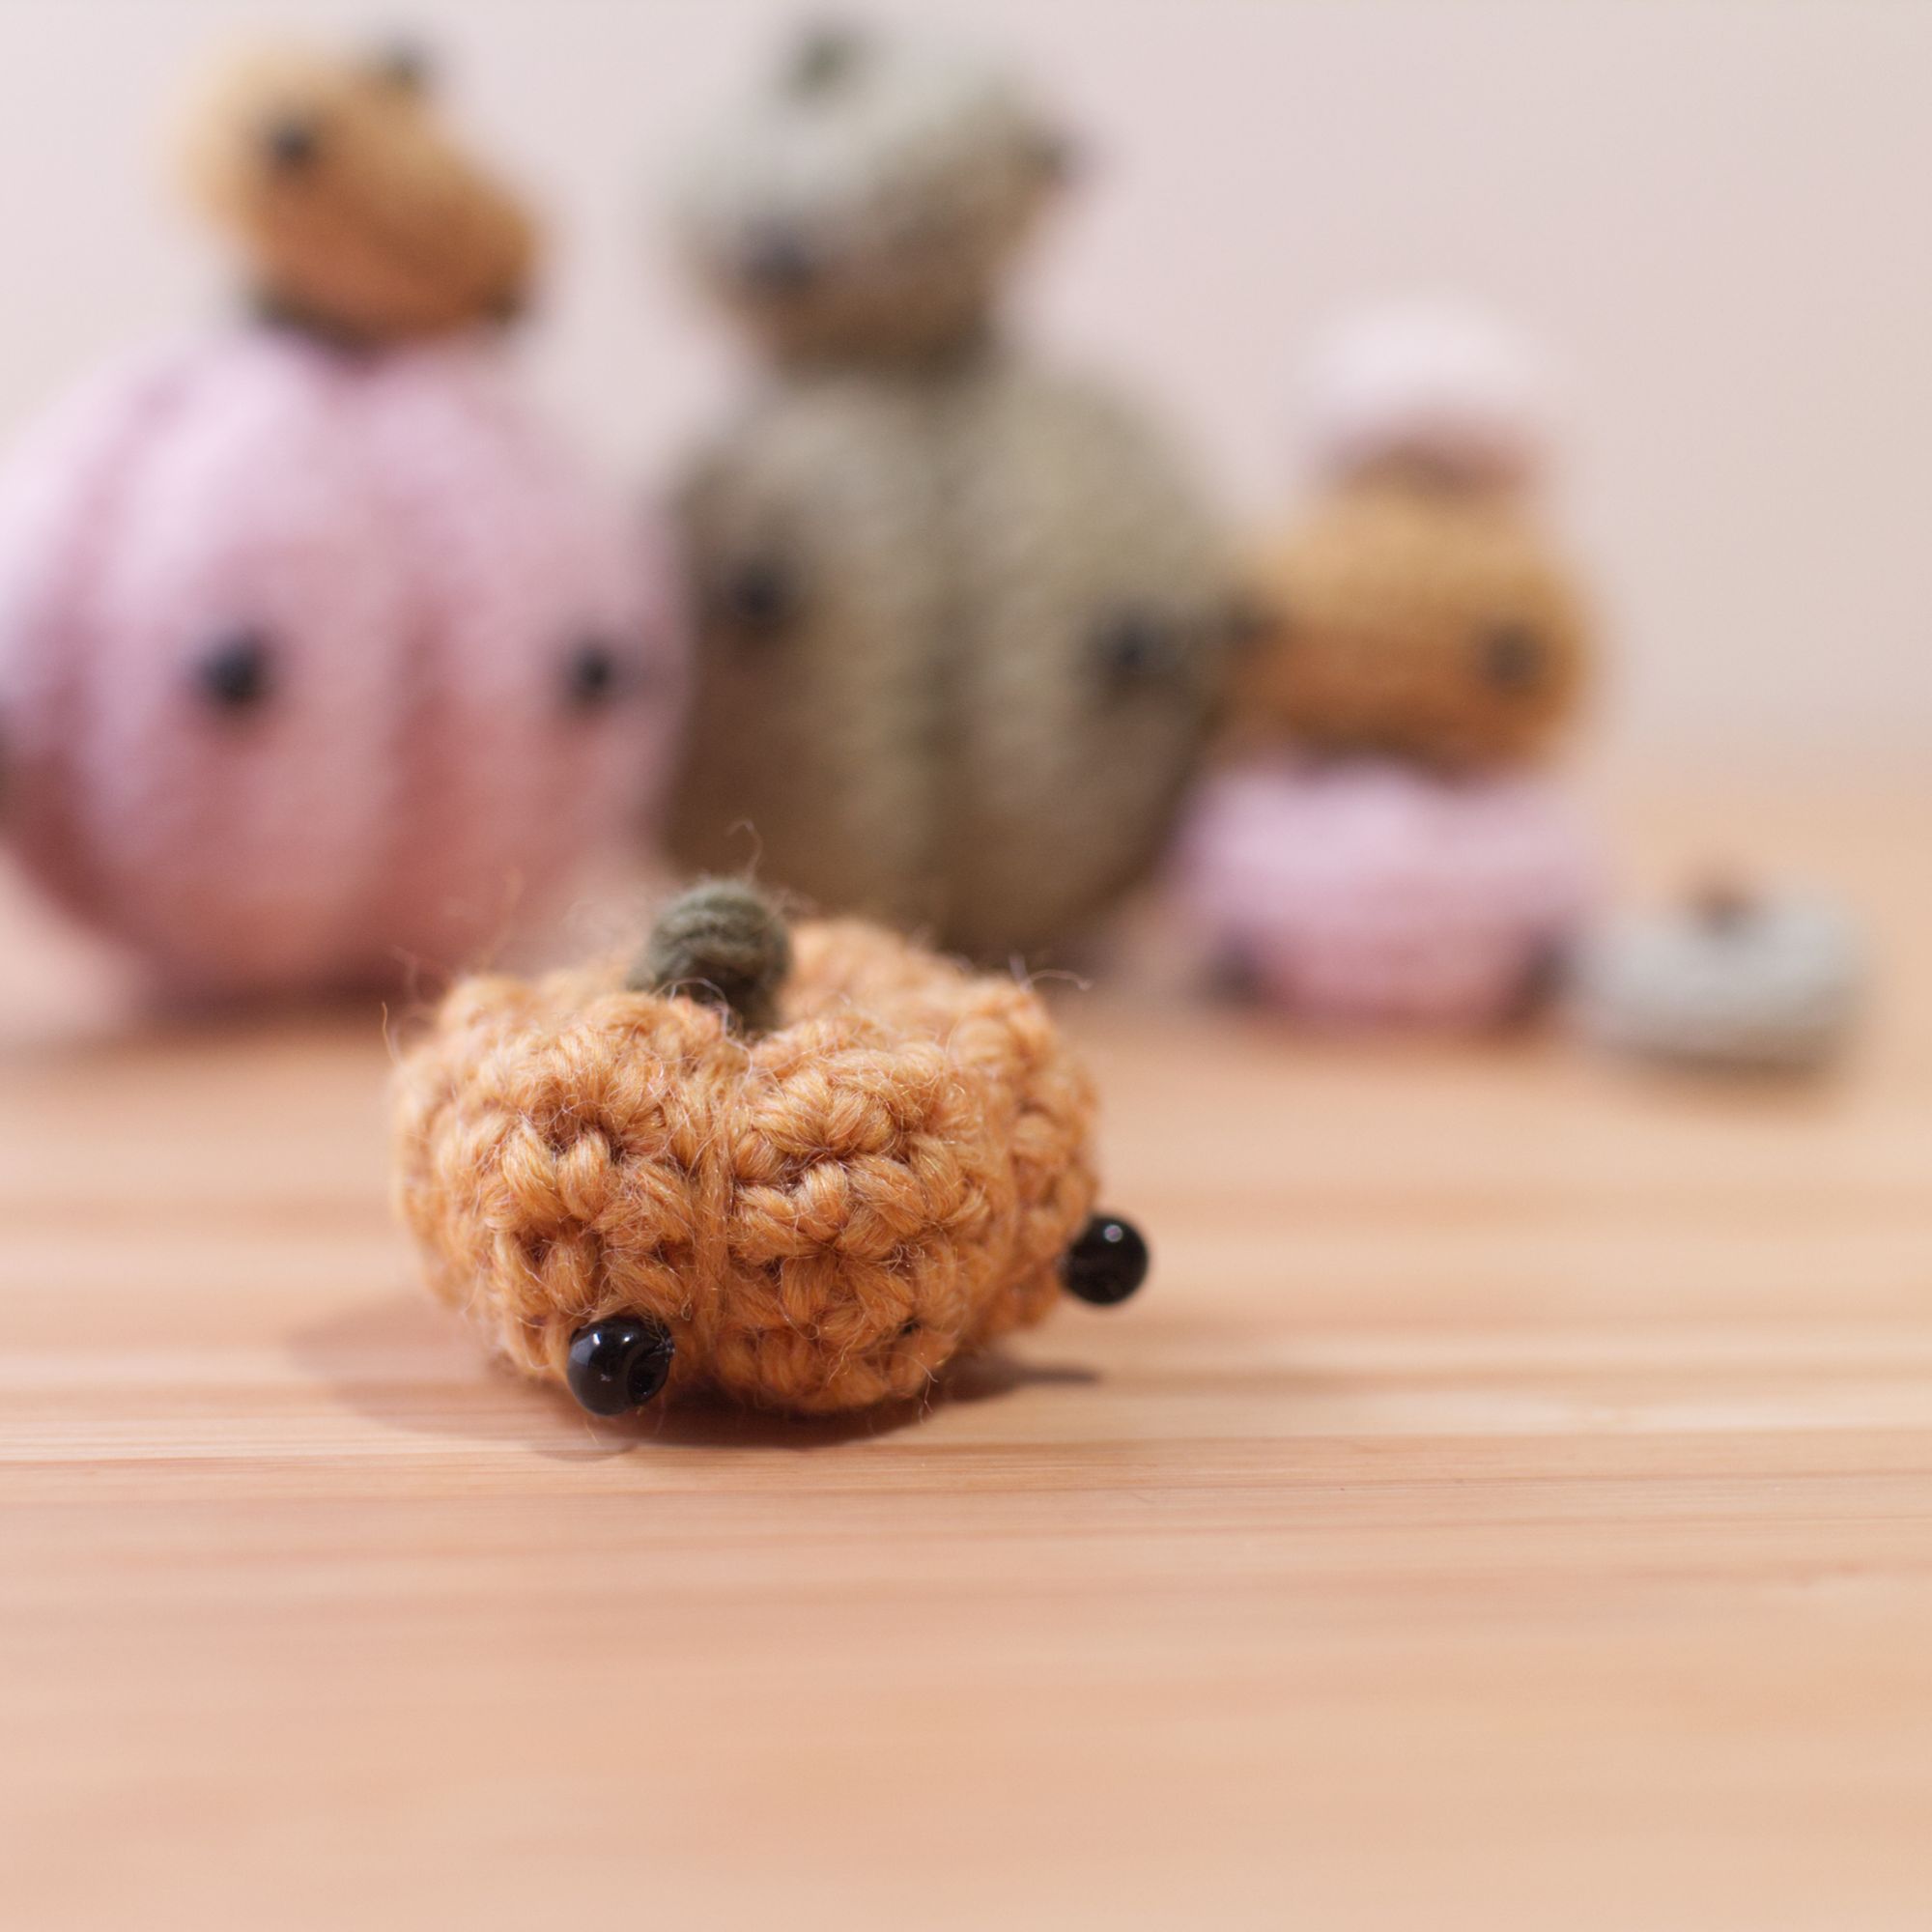
Face
Use black thread to sew the eye beads onto your pumpkin. They should be about 5 stitches apart. Sew a tiny mouth in between the eyes.
Your little pumpkin is now complete!
You can add this pattern to your queue and favorites on Ravelry. Or share photos of your creation on Instagram using #mohupattern. You'll even have a chance to be featured on our Instagram page!
Copyrights and selling your finished amigurumi:
This crochet pattern, amigurumi design, and all accompanying photos remain the copyright of Lauren Bergstrom of Móhu Store. You may not publish or distribute this pattern, or altered versions of the pattern (including variations, translations and videos), without permission.
You're welcome to sell physical items made from this pattern, as long as you credit Móhu as the designer. For online listings, add a note at the bottom of each listing saying ‘made from a Móhu pattern’ (or something similar). I also appreciate it if you include a link to the pattern, or to mohumohu.com. For selling in person, a small tag with the information on each amigurumi will do.
The amigurumi you sell must be made by an individual person (no production line or mass-production). You may not use my photos to sell your own work.